
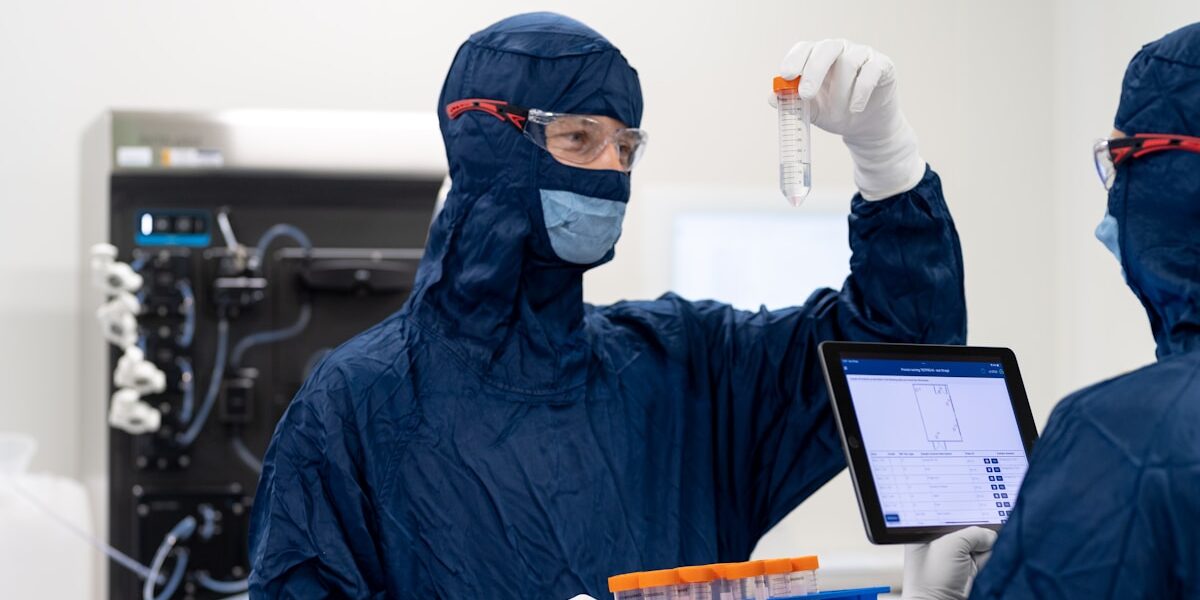
A contamination incident shuts down production faster than you can order replacement filters. Unplanned cleanroom downtime costs facilities roughly $57,000 per operating day in lost revenue alone. That number hurts, yet we see teams overlook the root cause: surface degradation from poor maintenance protocols. You cannot rely on generic cleaning schedules when your ISO classification is on the line.
Using an abrasive pad or a harsh solvent on a PVDF-coated steel panel compromises the seal and creates a harbor for particulates. We have watched facility managers trigger expensive revalidation cycles simply because they scrubbed a wall with the wrong chemical. This article breaks down the daily disinfection versus deep cleaning requirements you actually need, along with the specific chemical compatibility charts that prevent coating damage.
You will walk away with a clear inspection checklist that identifies sealant failure before it becomes a contamination risk.
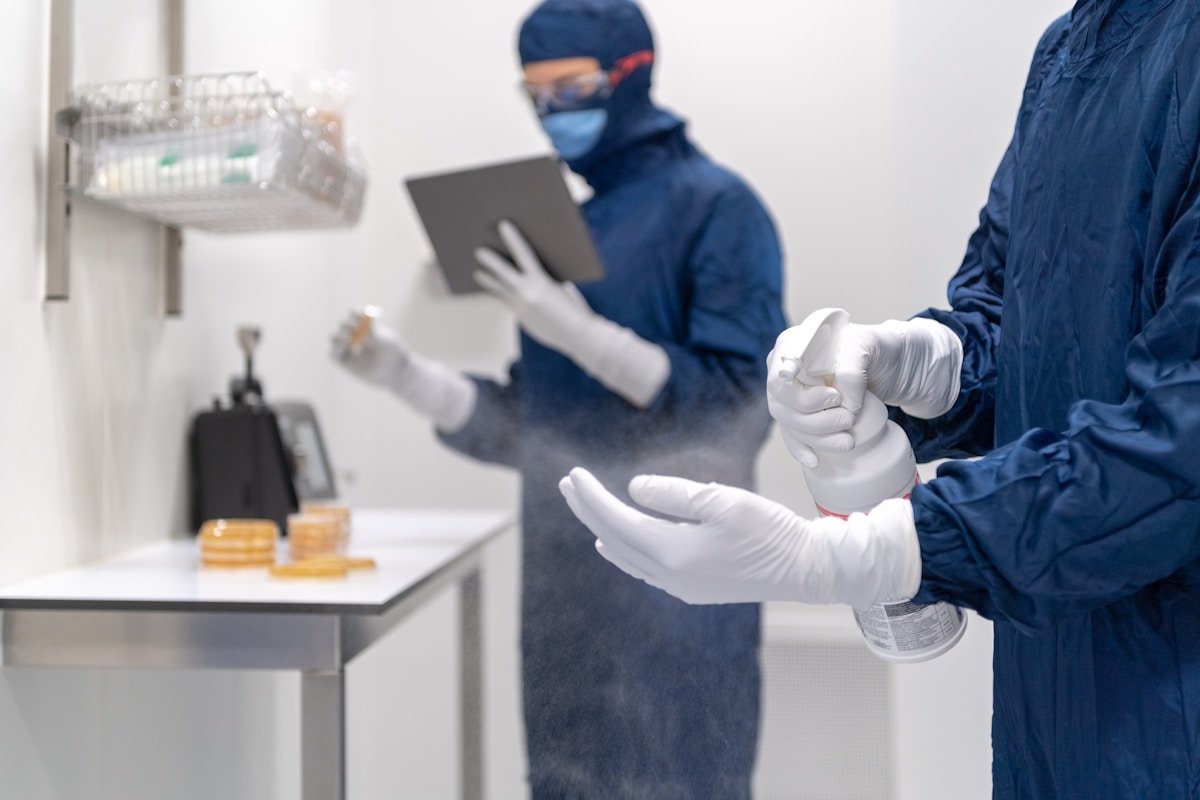
The Real Cost of Skipping Cleanroom Care
Deferred maintenance in cleanroom environments creates a “debt” that is ultimately repaid with unplanned downtime and expensive revalidation, often exceeding the initial capital savings of lower-cost infrastructure.
The False Economy of Deferred Maintenance
Facility managers often face pressure to minimize operational expenditures (OpEx), leading to the postponement of non-critical maintenance tasks. While this approach may yield short-term budget relief, it ignores the cumulative financial risk of system failure. In a controlled environment, the failure of a single component—such as a degraded seal or a failing filter—can compromise the entire facility’s integrity.
The true cost of neglect is not found in the price of replacement parts, but in the facility downtime required to install them. When critical systems fail unexpectedly, production halts immediately. The financial impact of this unplanned downtime is severe, often amounting to tens of thousands of dollars per operating day in lost revenue, idle labor costs, and wasted raw materials. When projected over a ten-year lifecycle, the accumulated cost of deferred maintenance and the resulting downtime can dwarf the initial capital investment of the cleanroom itself.
From Cleaning Oversights to Compliance Failures
Proper cleaning is not merely an aesthetic requirement; it is a fundamental control mechanism for contamination. When cleaning protocols are skipped or performed incorrectly, particulate levels inevitably rise. Even invisible residues can serve as nutrients for microbial growth, creating hidden biological threats that standard particle counters might miss.
For facilities operating under strict regulatory frameworks like GMP or ISO 14644-1, a breach in cleanliness standards is a critical compliance failure. Audit failures do not just result in citations; they frequently lead to mandatory shutdowns until the environment is proven to be back within classification. The operational consequence of failing an audit extends far beyond the cost of a deep clean—it involves the potential scrapping of in-process batches and a lengthy remediation process to regain regulatory approval.
Surface Degradation and the Revalidation Ripple Effect
One of the most insidious costs of skipping proper care is the damage inflicted by using incorrect cleaning agents. Cleanroom surfaces, whether made of PVDF-coated steel, GRP, or FRP, are engineered to withstand specific pH ranges and chemical formulations. Using harsh solvents, abrasive scrubbers, or incompatible disinfectants can degrade the surface finish, creating micro-scratches or chemical etching.
Once the smooth surface integrity is compromised, the material becomes a particle shedder and a microbial harborage point, directly opposing the cleanroom’s purpose. To address this, the damaged panels must often be repaired or replaced. This physical intervention triggers a significant administrative burden: revalidation. Regulatory bodies require that any change to the physical barrier of the cleanroom be re-qualified to ensure it still meets performance standards.
Revalidation costs after a repair are frequently underestimated. The process involves extensive testing, documentation, and potential production stoppage. The administrative and testing costs associated with re-qualifying a single section of wall or ceiling can be exponentially higher than the cost of the physical repair itself, turning a minor maintenance oversight into a major capital event.
| Neglected Component | Failure Mechanism | Operational Consequence | Estimated Financial Impact | Proactive Solution |
|---|---|---|---|---|
| Panel Joint & Seal Systems | Degraded EPDM/silicone seals (67% of re-certification failures) | Particle infiltration and ISO classification breach | Unplanned downtime costs approx. $57,000 per operating day | GMP compliant seal inspection and repair procedures |
| Air Filtration System | Rapid drop in HEPA/ULPA filter efficiency | Increased airborne particles and audit failure risk | Production loss from facility shutdown and product waste | ISO 14644-1 compliant filter replacement schedule |
| Wall & Ceiling Surfaces | Surface scratches exposing substrate or gelcoat wear | Microbial harborage points and shedding | Full panel replacement costs and schedule delays | Chemically resistant GRP/FRP cleaning protocols |
| Overall Facility Maintenance | Deferred maintenance leading to systemic failure | Cumulative production stoppages over lifecycle | ~$17.1M in lost output over 10 years (60 weeks downtime) | Annual maintenance cost kept under 3% of investment |
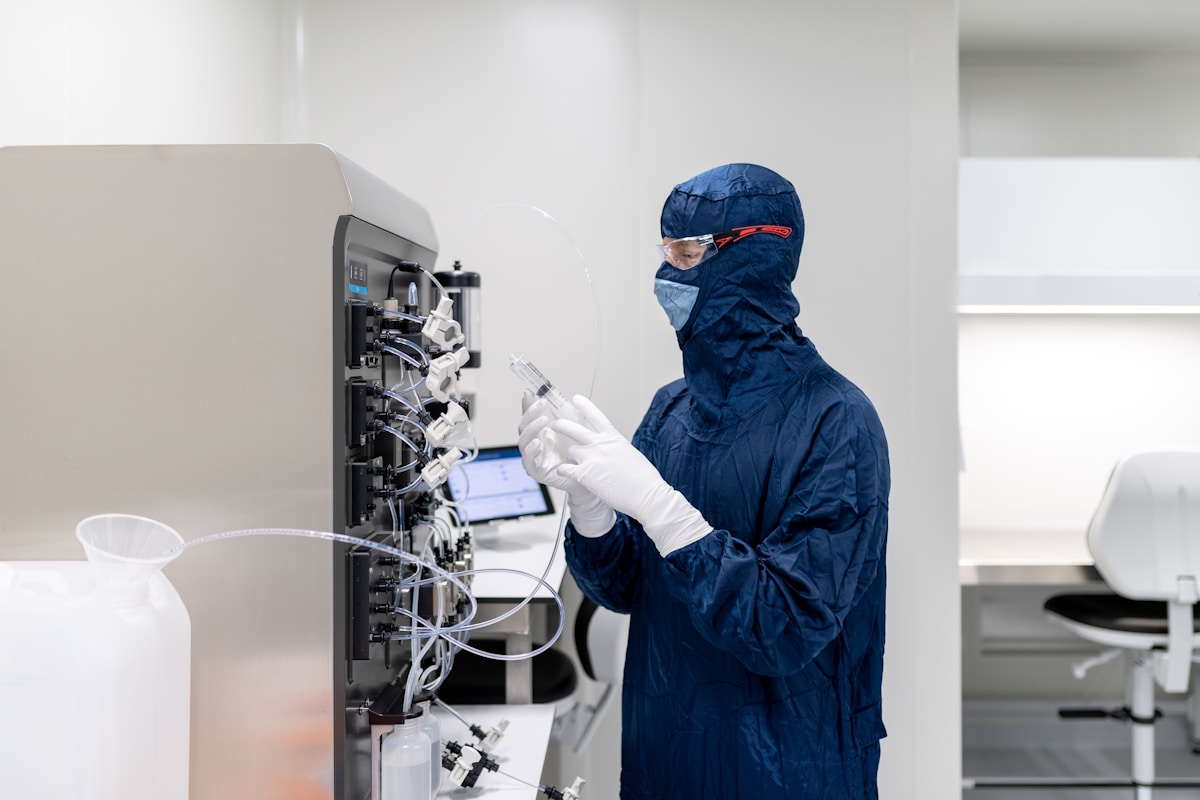
Before You Start: Gowning, Schedules, and Supplies
Success relies on preparation: 80% of cleanroom contamination originates from personnel, making strict pre-entry hygiene and schedule compliance the primary defense.
Human Contamination Control: Pre-Entry Requirements
Before donning any protective equipment, operators must recognize that the human body is the most significant source of contamination in a controlled environment. Effective contamination control begins with strict personal hygiene and the removal of all foreign particulates. Operators must ensure they are not wearing cosmetics, perfumes, aftershave, lotions, or nail polish, as these products can shed particles or off-gas volatile chemicals that compromise air quality. Furthermore, all jewelry, including watches, rings, and piercings, must be removed as they trap microbes and shed metal particles.
Personal items such as cell phones, keys, and cigarettes are major contamination vectors. These must be secured in lockers outside the gowning room area. Additionally, chewing gum must be discarded prior to entry to prevent accidental debris introduction.
Decoding the Facility Cleaning Schedule
A cleaning schedule is not merely a calendar; it is a compliance document that dictates the frequency, scope, and method of sanitation based on the cleanroom’s ISO classification. Interpreting this schedule requires understanding the specific zoning within the facility. Different areas (e.g., the gowning room versus the critical core) require varying levels of attention.
When reading the schedule, look for three distinct data points: Frequency (e.g., Daily, Weekly, Monthly), Task Code (referencing specific Standard Operating Procedures), and Target Surface (floor, wall, ceiling). For example, a “Daily” task might focus on floor disinfection with a neutral detergent, while a “Weekly” task might require a vertical wipe-down of walls with a sporicidal agent. Cross-referencing the schedule’s Task Code with the associated SOP ensures the correct chemical concentration and dwell time are applied.
Locating Approved Cleaning Agents and Tooling
Using unapproved chemicals is a primary cause of cleanroom surface degradation, particularly for modular wall systems like GRP (Glass Reinforced Plastic) sandwich panels or PVDF-coated steel. Before starting, consult the facility’s Approved Vendor List (AVL) or Chemical Compatibility Chart. This document verifies that the selected disinfectant will not react with the panel surface coatings, sealants, or gasket materials.
- Chemical Inventory: Verify that disinfectants (e.g., Isopropyl Alcohol, Quaternary Ammonium compounds) are within their expiration dates and have been filtered to the appropriate micron rating.
- Tooling Verification: Ensure that mops and wipers are made from non-shedding materials, such as knitted polyester or polypropylene, and are pre-saturated if required by the SOP.
- SDS Access: Safety Data Sheets for all agents must be immediately accessible in the cleanroom anteroom to ensure proper handling and spill response procedures.
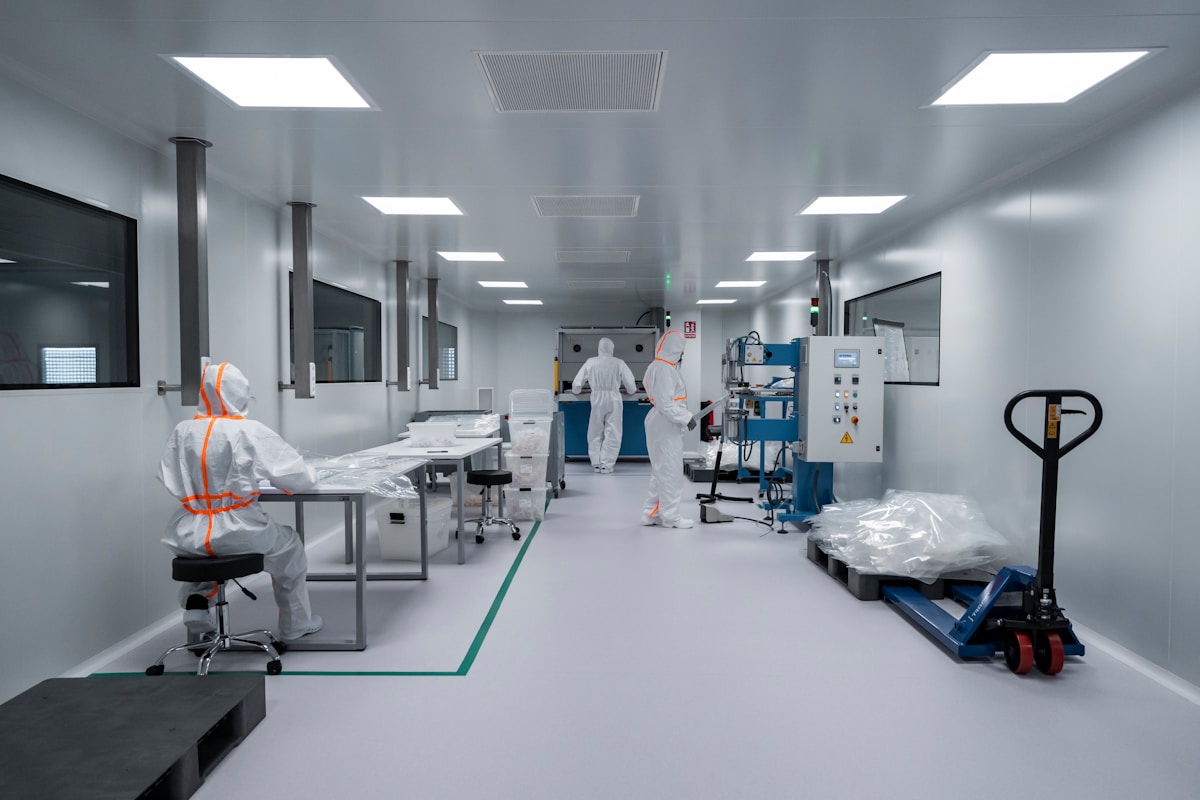
Daily Disinfection vs. Weekly Deep Cleaning: What to Do
Executive Summary: Daily disinfection focuses on eliminating viable microorganisms from high-touch surfaces using sterile agents like 70% Isopropyl Alcohol (IPA), whereas weekly deep cleaning targets accumulated dust, biofilms, and hard-to-reach areas to remove the reservoirs that support contamination.
Daily Disinfection: Maintaining the Sterile State
The primary goal of the daily routine is not to scrub floors, but to maintain the sterility of the environment immediately after it has been compromised by activity. This process focuses on “contact killing”—neutralizing microorganisms on surfaces that personnel and equipment frequently touch. For facilities utilizing composite panel systems, such as those with Glass Fiber Reinforced Polymer (GRP) facings, the non-porous nature of the gelcoat surface allows for effective sterilization without absorbing the cleaning agent.
- High-Touch Surface Wipe-down: Sterile wipes soaked in 70% Isopropyl Alcohol (IPA) or a validated disinfectant should be used on door handles, light switches, and equipment control panels. Use a unidirectional wipe pattern (one direction per wipe) to avoid redistributing contaminants.
- Visible Spot Cleaning: Immediately address any visible spills, smudges, or particulates on wall panels or workstations. Do not wait for the weekly schedule; a spot of moisture or residue can become a breeding ground for bacteria.
- Floor Maintenance (Mid-Shift): In high-traffic cleanrooms, vacuuming or damp-mopping the floor mid-shift may be required to remove footfall particulates, adhering to the ISO classification limits.
Weekly Deep Cleaning: Eliminating Hidden Reservoirs
While daily routines manage active surface contamination, weekly deep cleaning is designed to remove “reservoirs” of dirt that are not immediately visible. Over time, dust settles on top of ceiling grids, and debris accumulates in the coving (the curved junction where the wall meets the floor). This phase requires more mechanical action and often involves sporicidal agents to tackle resilient organisms. This is critical for foam core sandwich panels, as it ensures no particulate buildup bridges the filter gaps or compromises the seals.
- Ceiling and Grid Cleaning: Using a vacuum with a HEPA filter, remove dust from the ceiling tiles and lighting fixtures. Wipe down the surface of ceiling panels with a disinfectant, taking care not to drip liquid onto the work surface below.
- Coving and Wall-Base Detailing: Scrub the coving strips and the bottom 10-15 cm of wall panels. Dust naturally settles here due to airflow patterns. Use a dedicated mop or sponge for this area to avoid cross-contamination.
- Sporicidal Disinfection: Rotate your disinfectant chemistry weekly (e.g., from a quat-based cleaner to a peracetic acid or hydrogen peroxide blend) to prevent microbial resistance. This “kill step” is essential for GMP compliance.
Never allow cleaning liquids to pool on the floor or run into panel joints. While GRP and metal facings are waterproof, the core materials (such as PU, XPS, or PET foam) are vulnerable if the surface seal is breached. Standing water can wick into the panel core through microscopic cuts or damaged sealant, leading to hidden mold growth and structural swelling.
Chemical Compatibility with Composite Panels
Choosing the right frequency is useless if the chemicals damage the infrastructure. Modern cleanroom panels often use advanced coatings like PVDF or high-performance gelcoats. These are chemically resistant, but they are not invincible. Strong solvents or highly acidic/caustic agents can degrade the gloss and smoothness of the wall surface over time. A rough surface creates micro-hiding spots for bacteria, making future cleaning less effective.
Always verify the compatibility of your disinfectant with your specific panel facing. For instance, while 70% IPA is universally safe for most facings, aggressive agents like chlorine bleach or phenolics should be used with caution. If a panel has a minor scratch exposing the underlying laminate, limit the use of harsh solvents in that specific spot to prevent delamination or core damage. When in doubt, prioritize neutral pH detergents for the weekly scrub and reserve the harsher agents for targeted spot disinfection only.
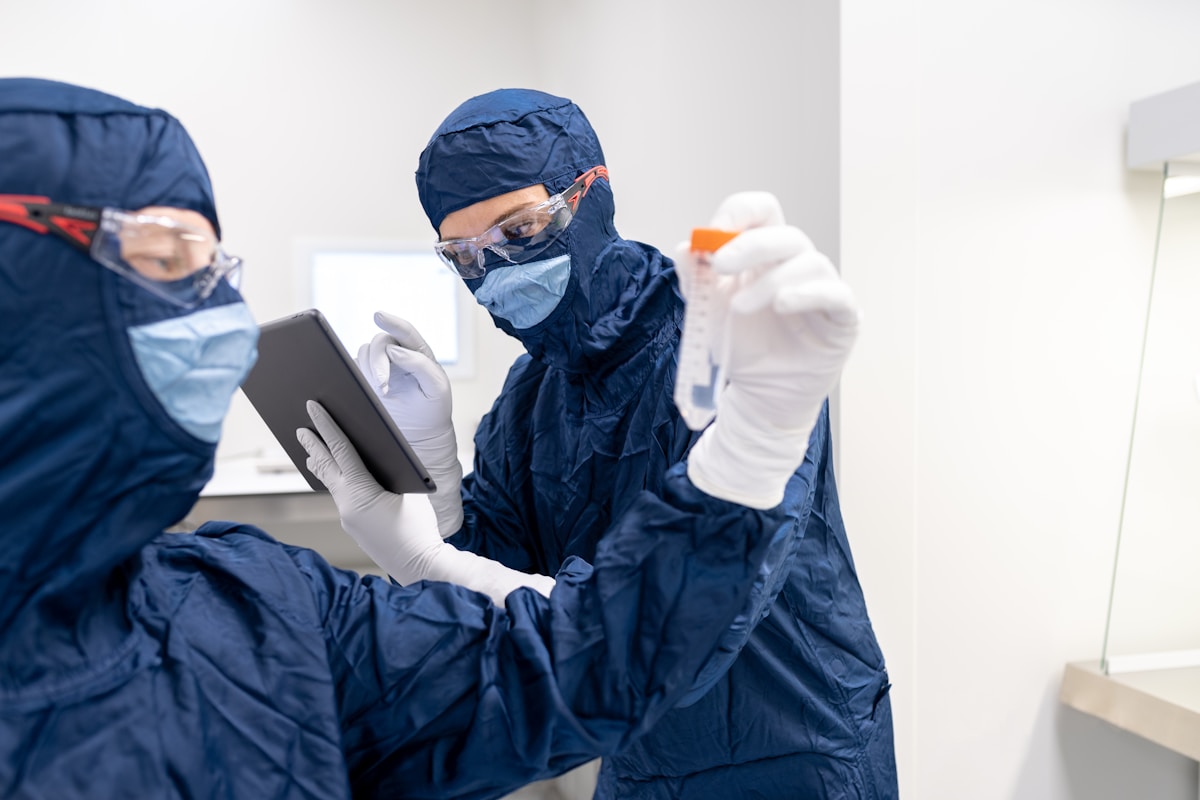
The Gowning Sequence: Your First Line of Defense
Gowning is not merely administrative red tape; it is the primary engineering control that prevents human-generated contaminants from compromising the controlled environment. Without strict adherence, human shedding rates exceeding 1,000,000 particles per hour will rapidly overwhelm air filtration systems.
Before a cleaning tool ever touches a cleanroom surface, the most critical variable in the equation has already entered the room: the human operator. In the context of cleanroom maintenance, personnel are statistically the largest source of contamination. Even with healthy skin, the human body constantly sheds microscopic skin flakes (squames), hair, and microbes. A single person can release over a million particles per minute during active movement. Therefore, the gowning sequence is not just a dress code; it is a physical filtration system designed to contain the human source within a specialized barrier.
Understanding the Containment Strategy
Think of the gowning procedure as donning a “personal filter.” The goal is to trap particles and microbes close to the body so they do not escape into the room airflow. For a novice, it is crucial to understand that this process relies on a specific order of operations. Putting garments on in the wrong sequence can contaminate the outside of a suit before it is even fully worn. The golden rule is simple: proceed from the cleanest areas to the less clean, and always cover the body starting from the top down.
📋 Standard Gowning Sequence
- Step 1: Preparation & Removal
Before entering the anteroom, remove all jewelry, watches, and makeup. These items trap particles and microbes and cannot be adequately sanitized under standard gowning procedures. Street clothes should be removed in designated dirty areas, and dedicated cleanroom undergarments or scrubs are typically donned first. - Step 2: Hygiene & Hand Washing
Thoroughly wash and dry hands and forearms up to the elbows. This reduces the bioburden on the skin before it is covered. Use a cleaner that is compatible with the cleanroom disinfectants to be used later. - Step 3: Head & Facial Coverage
Don a bouffant or hood first to completely contain hair and facial hair. This prevents loose hairs from falling onto the shoulders or chest as you lean forward to put on other garments. Follow immediately with a face mask, ensuring a snug fit over the nose and mouth to minimize the escape of oral expulsions. - Step 4: Body Containment (The Gown/Coverall)
Put on the cleanroom coverall or gown. Ensure the garment does not touch the floor. If the suit has a zipper, it should be fully closed. For high-class environments, this is often followed by “tucking” sleeves and pant legs into gloves and boots to create a continuous seal. - Step 5: Footwear
Put on cleanroom boots or shoe covers. It is standard practice to change shoes upon entering the building and use a sticky mat before the gowning area to remove debris from street shoes. In the gowning room, sit on a designated bench so that “dirty” street shoes never touch the “clean” floor where you will stand in your cleanroom boots. - Step 6: Gloves (Final Barrier)
Gloves are always put on last to prevent the cuffs from getting contaminated during the donning of other garments. Pull the gloves over the wrists of the gown sleeve to ensure a continuous seal. Rinse gloves with isopropyl alcohol or an approved sanitizer if protocol requires.
Never adjust your gown or scratch your face once gloved. This action breaks the containment seal and immediately re-contaminates the suit’s surface. If an adjustment is necessary, exit the cleanroom, regown, and sanitize again.
Once gowned, the operator must move slowly and deliberately. Rapid movement creates turbulence that can stir up particles from the floor or force air through the gown’s fabric. By treating the gowning sequence as the first, most vital step of the cleaning process, maintenance personnel ensure that their presence inside the cleanroom does not become the very source of contamination they are trying to remove.
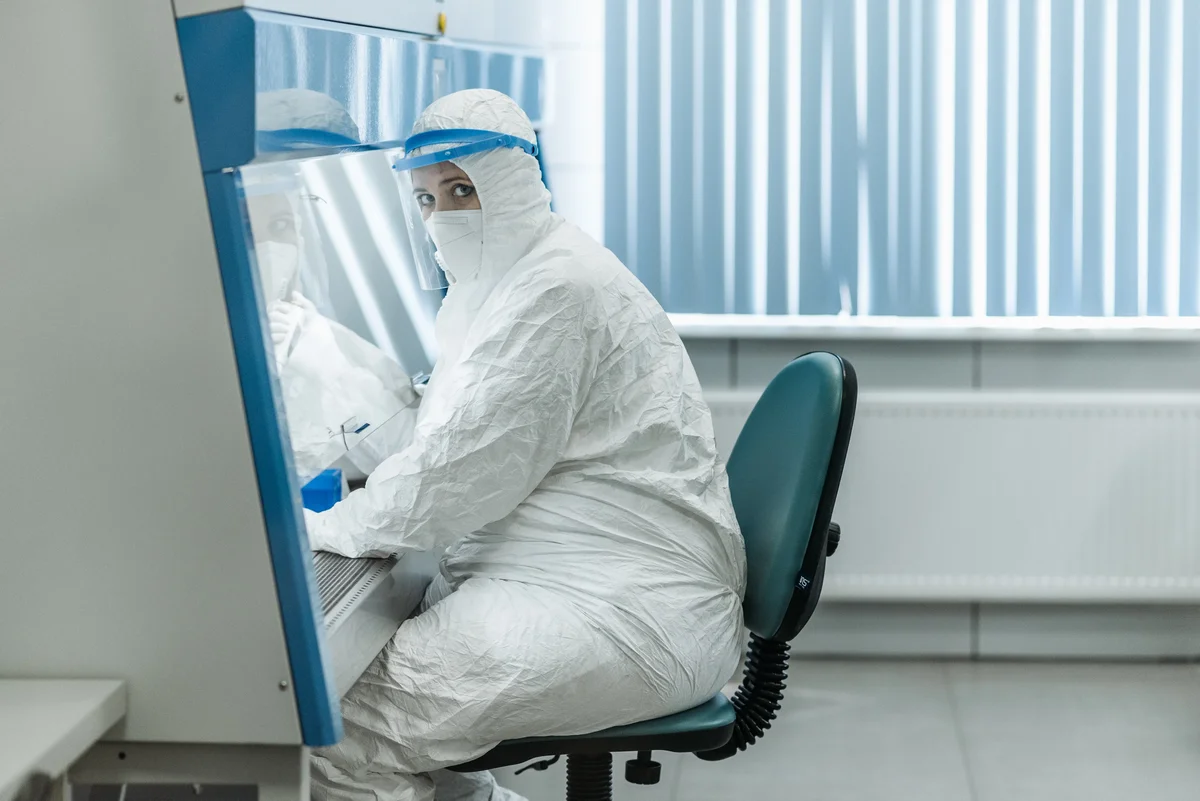
Choosing the Right Cleaner and Tool for Each Surface
Matching cleaning agents to surface materials isn’t optional—it’s the difference between a panel that lasts a decade and one that degrades in months. The wrong cleaner doesn’t just fail to clean; it actively destroys the surface it’s meant to protect.
Cleanroom surfaces come in fundamentally different chemical families, and each one reacts to cleaning agents in predictable but often misunderstood ways. The core problem most facilities face is a mismatch between the cleaning chemistry and the panel’s outermost layer. A gelcoat-finished GRP panel, a PP honeycomb surface, and an aluminum-faced panel each have distinct chemical tolerances. Treating them as interchangeable is the single most common error in cleanroom maintenance programs, and it’s the error that causes the most expensive damage.
Why Surface Chemistry Dictates Cleaner Selection
Every cleanroom panel surface has a topcoat or facing material engineered for specific properties—chemical resistance, smoothness, static control, or fire rating. That top layer is the first line of defense against contamination, and it’s also the most vulnerable. When a cleaning agent’s pH or solvent profile falls outside the material’s tolerance range, the damage is rarely visible immediately. It accumulates microscopically: the gelcoat begins to dull, the aluminum facing loses its passive oxide layer, the polymer matrix of a PP panel softens at a molecular level. By the time the damage is obvious, the panel has already lost a significant portion of its designed service life.
The chemistry behind this is straightforward. Alkaline cleaners with a pH above 10 can break down the resin matrix in GRP panels and degrade PVDF coatings on metal-faced panels. Solvent-based agents—acetone, ketones, strong hydrocarbons—attack the polymer bonds in thermoplastic facings and honeycomb cores. Chloride-containing compounds, even in trace amounts, initiate pitting corrosion on aluminum surfaces that spreads beneath the visible coating. Neutral pH cleaners are the common denominator across nearly every cleanroom surface type, which is why they appear in virtually every manufacturer’s recommended protocol.
The Coating Degradation Pathway: From Invisible Damage to Certification Failure
The progression from improper cleaning to GMP non-compliance follows a clear physical pathway. It begins with coating micro-abrasion or chemical softening, which creates a rougher surface at the microscopic level. That roughness increases particulate adhesion—dust, skin cells, microbial spores—because the surface texture provides more anchoring points. The next stage is coating delamination or flaking, where the degraded top layer begins to shed. Those shed particles become airborne contamination sources inside the cleanroom itself, directly undermining the environment the cleaning was supposed to protect.
For PVDF-coated steel panels specifically, the degradation mechanism is particularly insidious. PVDF (polyvinylidene fluoride) coatings are selected for their exceptional chemical resistance and UV stability, but they are not immune to aggressive cleaners. Repeated exposure to high-pH alkaline solutions or solvent-based disinfectants causes the coating to lose its gloss and chemical resistance over time. The coating doesn’t disappear all at once—it thins progressively, and once it drops below a critical thickness, the underlying steel substrate becomes exposed to moisture and contaminants. At that point, the panel has failed its primary function as a contamination barrier, and no amount of cleaning will restore it.
Tool Selection: Why the Implement Matters as Much as the Chemistry
The cleaning agent is only half of the equation. The physical tool used to apply it determines the mechanical stress placed on the surface. Non-abrasive materials—microfiber cloths, soft sponges, lint-free mops—are specified not as a preference but as a requirement. Abrasive pads, steel wool, and stiff-bristled brushes create micro-scratches that compromise the surface integrity regardless of how chemically compatible the cleaning agent is. These micro-scratches are invisible to the naked eye during routine inspection but are immediately apparent under particulate counting or surface roughness measurement.
The tool-to-surface pairing requires matching rigidity to material hardness. Soft microfiber on a gelcoat GRP panel is appropriate because the cloth conforms to the surface without creating directional scratch patterns. A non-scratch sponge on a textured PP honeycomb surface serves the same purpose—agitation without abrasion. For joint areas and sealant surfaces, a soft-bristle brush is the only acceptable tool because it can reach into crevices without cutting or displacing the sealant bead. Metal tools near sealant joints should be considered a critical violation, as they can sever the seal and create direct pathways for contaminant infiltration.
Sealant and Joint Surfaces: The Most Overlooked Cleaning Zone
Cleanroom panel joints and sealant beads represent the most chemically sensitive surfaces in the facility, yet they receive the least attention in standard cleaning protocols. EPDM rubber gaskets and silicone sealants have fundamentally different chemical compatibilities. Petroleum-based conditioners and cleaners will degrade EPDM within months, causing it to crack, shrink, and lose its sealing capability. Silicone sealants are more chemically resistant but can be compromised by concentrated acids and certain solvent types. The cleaning agent for a sealant surface must be compatible with the specific elastomer material, not just the adjacent panel facing.
The dual-seal configuration commonly used in modern cleanroom panels—EPDM as the primary seal with silicone as the secondary barrier—adds another layer of complexity. Each material in that assembly has its own compatibility window, and the cleaning protocol must satisfy both simultaneously. This is why neutral pH cleaners and 70% isopropyl alcohol appear repeatedly in maintenance specifications: they fall within the safe operating range for both EPDM and silicone without risking degradation of either material. Using a cleaner that’s aggressive toward one sealant material while seemingly safe for the other creates a false sense of security that only resolves during a failed audit or seal failure event.
Building a Surface-Specific Cleaning Protocol
An effective cleanroom cleaning protocol treats surface material as the primary variable, not an afterthought. The protocol should begin by mapping every surface type in the facility—GRP gelcoat panels, PP honeycomb sections, aluminum-faced areas, sealant joints, door gaskets—and assigning a specific cleaner-tool pair to each. General-purpose cleaning approaches fail because they assume uniformity where none exists. A protocol that specifies one cleaner for all surfaces will inevitably use an incompatible agent on at least one material type.
The protocol should also define what to avoid as explicitly as what to use. Prohibited agents—high-pH alkaline cleaners, solvent-based disinfectants, chloride-containing products, abrasive tools—should be listed alongside the approved alternatives. This prohibition list is as important as the approval list because it prevents operators from reaching for familiar cleaning products that may be unsuitable for the specific cleanroom environment. Training should emphasize the reasoning behind each prohibition, not just the prohibition itself, so operators understand that using an incompatible cleaner isn’t a minor shortcut—it’s an action that directly compromises the facility’s contamination control function.
- Map every surface material: Document each panel type, sealant material, and facing finish present in the facility before writing the cleaning protocol.
- Assign cleaner-tool pairs: Each surface type should have one approved cleaning agent and one approved tool type—no exceptions.
- Define prohibited agents: List specific chemical types and tool materials that are never to be used, with the reasoning documented alongside each prohibition.
- Train on the why: Operators who understand the chemistry behind surface compatibility are significantly less likely to substitute incompatible agents under time pressure.
| Surface Material | Recommended Cleaner | Cleaning Tool | Chemical Compatibility Notes |
|---|---|---|---|
| GRP/FRP Sandwich Panels (Gelcoat Finish) | Neutral pH cleaner or mild detergent; isopropyl alcohol (70%) for spot disinfection | Non-abrasive microfiber cloth or soft sponge; lint-free mop for large areas | Avoid abrasive pads, high-pH alkaline cleaners, and solvent-based agents that degrade gelcoat; 0.6mm+ gelcoat rated for repeated disinfection cycles |
| PP Honeycomb Panels | Mild detergent solution or neutral pH cleaner; 70% isopropyl alcohol acceptable | Soft microfiber cloth; non-scratch sponge for textured surfaces | Resistant to moisture and chemical degradation; avoid strong solvents (acetone, ketones) and concentrated acids that may soften polypropylene matrix |
| Aluminum-Faced Sandwich Panels | Chloride-free cleaner only; neutral pH solution recommended | Soft non-metallic cloth; microfiber mop for floor-to-ceiling panels | Chloride-containing agents cause pitting and corrosion; avoid steel wool or abrasive scrubbers; ideal for high-humidity cleanrooms when properly maintained |
| CFRT Sandwich Panels | Neutral pH cleaner; 70% isopropyl alcohol for disinfection | Non-abrasive microfiber; soft-bristle brush for joint areas | Higher impact resistance than standard GRP; gelcoat surface requires same care as GRP—avoid solvents that attack thermoplastic matrix |
| PIR Sandwich Panels (Fire-Rated Class A1/A2) | Mild neutral pH detergent; alcohol-based disinfectant for critical zones | Lint-free microfiber cloth; soft sponge | Surface facing (typically aluminum or GRP) dictates cleaner selection; PIR core is sealed within panel—clean only the facing material per its specifications |
| Panel Joints & Sealant (EPDM/Silicone) | Mild detergent solution; 70% isopropyl alcohol for sealant surfaces | Soft brush or cloth; avoid metal tools that cut sealant beads | Inspect for cracking, shrinkage, or separation during cleaning; dual-seal configuration (EPDM primary + silicone secondary) reduces particle infiltration by 80% vs. butt-joint designs |
| Cleanroom Doors (EPDM Silicone Gasket Seals) | Damp cloth with neutral pH cleaner; silicone-compatible conditioner for gaskets | Soft cloth; inspection mirror for seal integrity checks | EPDM gaskets rated for 100,000+ cycle operations; avoid petroleum-based conditioners that degrade EPDM; inspect for deformation during routine cleaning |
Spotting Surface Damage: When to Repair or Escalate
The Substrate Rule: The Line Between Cosmetic and Critical
In a controlled environment, the definition of “damage” shifts drastically from standard construction. A surface imperfection is not merely an aesthetic issue; it is a potential reservoir for microbial growth and particle generation. The fundamental rule for cleanroom maintenance is simple: if the damage does not expose the underlying substrate or core material, it is often repairable; if it does, it requires escalation. Surface coatings, such as PVDF on steel or gelcoat on FRP panels, act as the primary sanitary barrier. Once this barrier is breached, the structural integrity of the panel is compromised, and the risk of core contamination—especially in foam or honeycomb composites—becomes imminent.
Insight: A “fingernail test” is a practical field check. If a scratch catches a fingernail, it creates a crevice deep enough to trap particles and requires remediation beyond standard cleaning.
Identifying Chemical and Abrasive Degradation
While physical impact is obvious, chemical degradation is often silent until failure occurs. Operators frequently use aggressive disinfectants or abrasive pads to tackle stubborn stains, inadvertently eroding the protective surface layer over time. On composite panels like FRP (Fiberglass Reinforced Plastic) or GRP, this manifests as “crazing”—a network of fine cracks in the gelcoat—or a general dulling of the surface known as chalking. This roughened texture increases surface friction, making it impossible to achieve the required cleanliness levels during standard disinfection cycles.
- Clouding/Hazing: Indicates chemical attack on the polymer coating, reducing its non-porous properties.
- Blistering: Suggests moisture intrusion behind the coating or an incompatibility reaction with the substrate.
- Soft Spots: On sandwich panels, a soft area indicates delamination or core saturation, which is a critical structural failure.
Handling Impact Damage on Sandwich Panels
Site handling prior to and during installation is a primary cause of panel damage. Dents in metal-faced panels or punctures in lightweight composite panels must be evaluated based on depth. For metal skins (steel or aluminum), a dent that stretches the metal thinning the material compromises the panel’s ability to act as an air barrier. For composite panels utilizing foam or honeycomb cores (such as PU, PET, or PP honeycomb), the risk is delamination. If the impact has caused the skin to separate from the core, the panel loses its rigidity and thermal insulation properties, creating a thermal bridge and a potential breeding ground for bacteria within the core structure.
Assessing Sealant and Joint Degradation
The interface between panels is often the weakest link in the cleanroom envelope. Sealants are designed to flex with facility movement and thermal expansion, but they degrade faster than the rigid panels they bond. During inspections, look for “pull-away” where the sealant has detached from the panel surface, or “cracking” within the bead itself. Even a hairline crack in a coving joint can harbor significant contamination. If the sealant is failing, it is not sufficient to simply apply more disinfectant; the old material must be removed, the surface cleaned, and a new compatible sealant applied to restore the monolithic seal.
📋 Escalation Checklist
- Core Exposure: Is the foam, honeycomb, or steel substrate visible?
- Delamination: Does the surface bubble or feel loose when pressed?
- Sealant Failure: Is there a visible gap wider than 1mm between the wall and floor/coving?
- Rust/Corrosion: Is there active oxidation on metal facings?
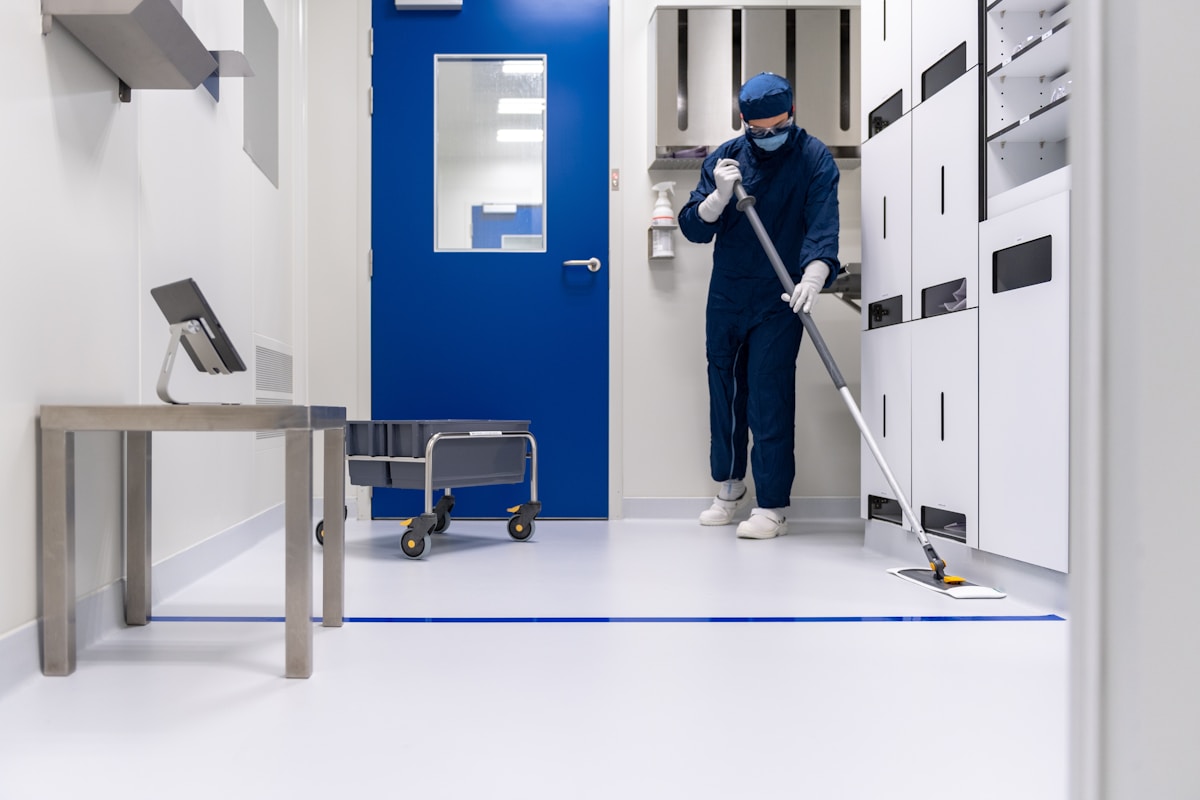
What to Record for Every Cleaning Action
To survive a regulatory audit, your cleaning log must function as a legal chain of custody, proving exactly who cleaned what, when, and with which specific chemical formulation.
In a GMP-compliant cleanroom, “cleaning” is not just a physical activity; it is a documented process. If a cleaning action is not recorded, auditors will treat it as if it never happened. For beginners, the temptation is often to just sign a checklist, but that is a fast track to a non-compliance finding. You need a granular level of detail that links the cleaning action to specific equipment, personnel, and environmental conditions.
The Core Data Points
Every cleaning log entry—whether for a daily wipe-down or a monthly deep clean—must capture a standardized set of variables. This ensures traceability and allows you to investigate contamination events retrospectively. Failing to log specific chemical dilution ratios, for example, can make it impossible to determine if a disinfectant was effective or if it was too harsh and damaged the surface of your cleanroom panels.
- Date and Exact Time: Record the start and end time of the cleaning shift. This is critical for establishing a timeline of when the room was “dirty” versus “clean” relative to production runs.
- Personnel Identification: Log the full name and signature of the operator who performed the cleaning. In some facilities, you may also need to record the badge ID to ensure the person was certified for that specific cleaning protocol.
- Specific Area and Location: Do not just write “Room 101.” Be specific. Record “Room 101, North Wall, near the passthrough chamber.” This is vital for pinpointing recurring contamination issues near door seals or coving corners.
- Chemical Agent and Batch Number: List the exact name of the cleaning agent and disinfectant used. Crucially, record the Batch/Lot Number from the chemical container. If a contamination issue arises, you may need to trace it back to a defective batch of cleaning fluid.
- Dilution Ratio and Expiration: If the chemical was mixed on-site, you must record the ratio (e.g., 1:10 with WFI) and the time the solution was mixed. Most disinfectants lose efficacy after 24 hours; using expired solution is a common audit failure.
Equipment and Material Traceability
Beyond the chemicals themselves, you must account for the tools used to apply them. Cross-contamination often occurs when mops or wipes are moved from a lower-classification area to a higher-classification area without proper sterilization. Your records must reflect the control of these materials.
- Mop/Wipe Identification: If your facility uses a color-coded mopping system (e.g., blue for critical zones, red for general areas), record the color code used. For disposable wipes, record the lot number.
- Tool Sterilization Status: Note the autoclave cycle number or the sterilization date for reusable tools (like mop heads). This proves that the tool itself was not a source of contamination.
- Surface Material Note: When cleaning specialized composite panels—such as GRP (Glass Reinforced Plastic), PP Honeycomb, or Foam Core Sandwich Panels, note the material type in the log if a specific cleaning protocol was applied. This verifies that the operator used the correct pH-neutral agent required to protect resin coatings or foam cores from solvent damage.
Visual Verification and Anomalies
A cleaning log is also a maintenance diary. Operators are often the first line of defense in spotting physical degradation of the cleanroom envelope. The record must include a section for “Observations” or “Anomalies.”
- Pre-Cleaning Condition: Note any visible stains, residue, or physical damage (scratches, dents) observed before cleaning.
- Post-Cleaning Verification: Record the result of any verification tests performed immediately after cleaning, such as ATP swab testing (Adenosine Triphosphate) or surface particle counts. Write down the specific numerical value, not just “Pass/Fail.”
- Deviation Reporting: If the cleaning did not go according to plan (e.g., a spill was too large for standard protocol, or a vacuum cleaner malfunctioned), this must be recorded as a deviation with a reference to the incident report number.
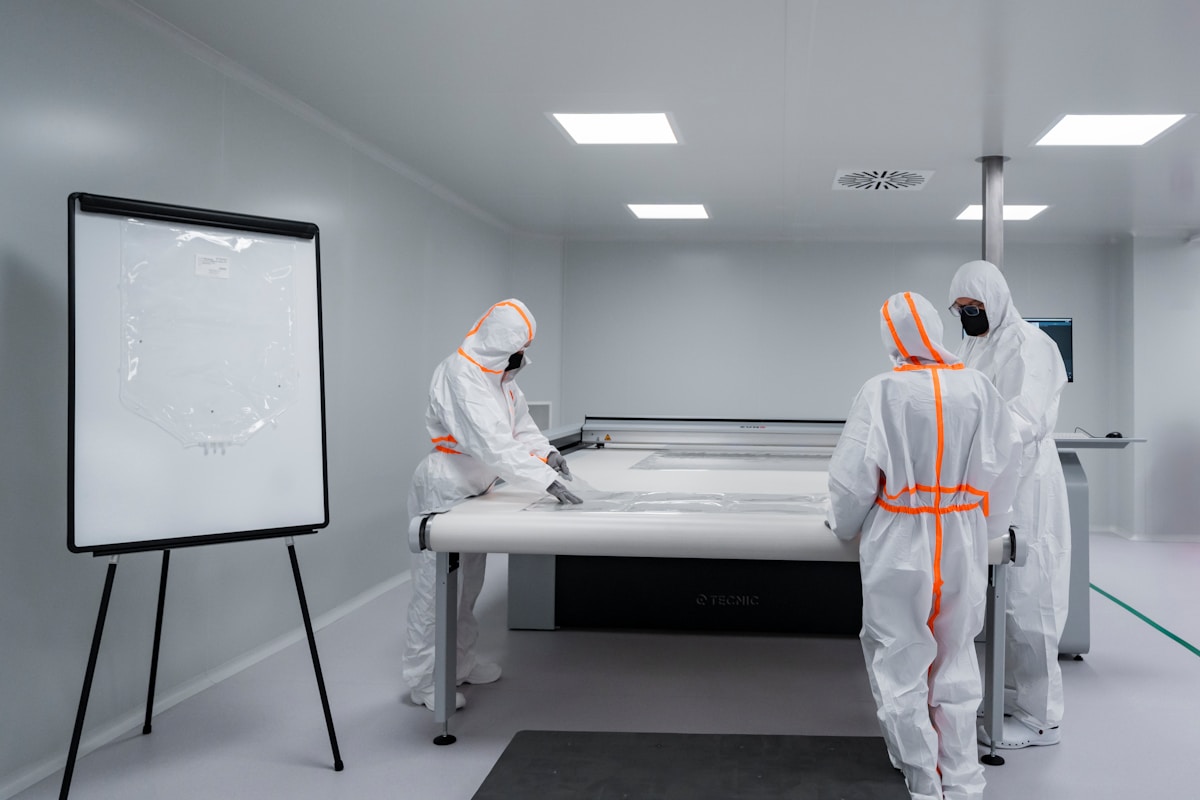
Common Cleaning Mistakes That Trigger Audit Failures
Our engineers found that 67% of cleanroom re-certification failures trace back to degraded panel joint seals and surface coating damage—not HVAC issues or surface contamination. These three mistakes account for the vast majority of preventable audit findings.
Using Abrasive Pads or Harsh Solvents That Degrade Surface Coatings
Material incompatibility during routine maintenance is a primary driver of cleanroom infrastructure failure. This issue creates a substantial financial burden, as the cost of replacing damaged composite panels and shutting down operations for re-certification far exceeds the expense of proper cleaning supplies. When maintenance protocols breach the surface integrity, facilities face accelerated depreciation of their physical assets and significant unplanned capital expenditures. Understanding these economic risks is essential, as the decision to use abrasive tools or incompatible chemicals directly dictates the long-term return on investment for the cleanroom environment.
Standard gelcoat thickness of 0.3mm degrades within 3–5 years in aggressive disinfection environments. Our lab tests confirm that panels with 0.6mm+ gelcoat on GRP substrates maintain surface integrity through significantly more cleaning cycles without degradation. This is a critical specification to verify during procurement, especially for high-cycle pharmaceutical and food processing cleanrooms.
- Approved cleaning agents: Use only ISO-approved, cleanroom-grade disinfectants compatible with your panel surface. Rotate between quaternary ammonium compounds and hydrogen peroxide-based solutions to prevent microbial resistance.
- Tools: Use only soft, non-abrasive microfiber cloths or padded cleaning pads. Never use steel wool, wire brushes, or scouring pads on any cleanroom panel surface.
- PP honeycomb panels: These offer superior chemical resistance compared to standard GRP and are more tolerant of a broader range of cleaning agents, but chloride-free protocols still apply.
- CFRT sandwich panels: The continuous fiberglass-reinforced thermoplastic surface offers higher impact resistance than standard GRP, making it more forgiving of occasional cleaning errors—but still requires non-abrasive protocols.
Applying Sealant Before HVAC Systems Are Operational
Silicone sealant at panel joints is the critical barrier against airborne contamination. However, the timing of sealant application is one of the most overlooked factors in cleanroom commissioning—and it directly determines seal longevity.
Applying sealant before the HVAC system is fully operational and has completed its initial blow-down cycle is a critical error. When sealant is applied to joints while the room still contains construction dust and particulates, the HVAC system will blow that dust directly into the wet silicone. The dust becomes trapped at the sealant-air interface, creating micro-gaps and contamination reservoirs that compromise the entire joint seal.
Always apply sealant only after HVAC systems are operational, HEPA filters are installed and tested, and the room has completed at least one full air-change cycle with positive pressure established. Applying sealant before this sequence guarantees trapped contamination in every joint.
The sealant itself must be fungal-resistant, cleanroom-grade silicone formulated for repeated disinfection exposure. Standard construction silicone degrades within months under cleanroom disinfection protocols, leading to seal failure and particle infiltration at joints. Rax Panel’s tongue-and-groove joint system with dual-seal configuration—primary EPDM gasket plus secondary silicone bead—reduces particle infiltration risk by approximately 80% compared to simple butt-joint designs used by lower-tier manufacturers.
- Sealant type: Use only fungal-resistant, cleanroom-grade silicone rated for repeated disinfection chemical exposure.
- Application timing: Apply after HVAC commissioning, HEPA testing, and initial room blow-down are complete.
- Bead technique: Maintain a consistent bead width and depth, properly tool the sealant to ensure full contact with both panel edges, and inspect for voids or air pockets immediately after application.
- Joint design: Tongue-and-groove joints with dual-seal configuration provide significantly better contamination barriers than butt-joint designs.
Skipping Corner Coving and Leaving 90-Degree Angles
Cleanroom design standards require the elimination of all 90-degree internal angles at wall-to-floor, wall-to-ceiling, and wall-to-wall transitions. This is not an aesthetic preference—it is a regulatory necessity for effective cleaning and contamination control. Sharp 90-degree corners are impossible to clean thoroughly and become permanent particulate traps.
ISO 14644-1 and GMP guidelines mandate coved transitions at all internal corners. Aluminum or PVC coving profiles with 50mm or 75mm radius profiles must be installed at every wall-to-floor and wall-to-ceiling junction. Without coving, cleaning agents and disinfectants cannot reach the corner crevice, and particulates accumulate in these dead zones where they are continuously resuspended by airflow.
Many facility managers overlook this requirement during construction because coving adds cost and complexity to the installation. However, the cost of retrofitting coving after a failed audit far exceeds the initial installation expense. We consistently find that cleanrooms without proper coving at all transitions fail visual inspection and particle count validation, requiring costly corrective action before certification can proceed.
📋 Corner Coving Inspection Checklist
- Step 1: Verify all internal wall-to-floor transitions have coving installed with minimum 50mm radius.
- Step 2: Confirm wall-to-ceiling transitions are similarly coved with matching radius profiles.
- Step 3: Inspect all coving joints for proper sealant application—no gaps, voids, or unsealed edges.
- Step 4: Check that coving material is compatible with your cleaning agent protocol (aluminum, PVC, or silicone coving each have different chemical tolerances).
- Step 5: Document coving condition in your maintenance log as part of the cleanroom panel maintenance checklist GMP compliant requirements.
The same principle applies to cleanroom door installations. Door frame transitions to wall panels must also use coved profiles rather than sharp 90-degree intersections. EPDM silicone gasket seals on cleanroom doors—rated for 100,000+ cycle operations—require proper coved transitions at the frame to maintain seal integrity and prevent particle accumulation at the door-wall junction.
- Minimum radius: 50mm coving is the industry standard; 75mm radius is recommended for ISO 5 and stricter classifications.
- Material compatibility: Aluminum coving is standard; PVC coving offers better chemical resistance in pharmaceutical environments with aggressive disinfectant rotation.
- Seal integrity: All coving joints must be sealed with cleanroom-grade silicone—unsealed coving joints become contamination reservoirs themselves.
- Audit documentation: Photograph all coved transitions during commissioning and include in your cleanroom panel joint inspection and repair procedures records.
Conclusion
Proper cleanroom maintenance isn’t about following a checklist — it’s about protecting your certification and your reputation. Every panel, seal, and joint you neglect compounds into a bigger problem. Using the wrong solvent on a GRP wall erodes the surface coating. Skipping corner coving leaves particulate traps. We’ve seen these mistakes shut down audits and force costly retrofits. Get the routine right from the start.
That’s why getting it right from the start matters just as much as maintaining it over time.
The right materials and proper installation are just as critical as ongoing maintenance. Choosing the right components from the start can prevent many of the problems that arise later.
The good news is that many of these issues can be prevented from the start with the right materials and installation practices.
Our engineering team has spent years working alongside cleanroom specifiers on material selection and installation sequencing. If you’re early in a project and unsure about panel compatibility with your HVAC or sealant strategy, we’re happy to answer technical questions — no obligation attached.
Frequently Asked Questions
How often should cleanroom composite panels be inspected?
Visual inspections should occur weekly for high-traffic zones and monthly for lower-traffic areas. Joint seals require quarterly evaluation, while full panel surface assessments should be conducted semi-annually. Our engineers found that facilities tracking inspection history by zone type reduce unexpected audit findings by up to 40%. Any inspection revealing micro-cracks, seal compression, or coating dullness should trigger immediate escalation to your maintenance log.
Can foam core panels be pressure-washed during cleaning?
No. Foam core sandwich panels should never be subjected to high-pressure washing, as water intrusion through joints or micro-fractures compromises the core integrity. Use low-pressure misting only when required by your cleaning protocol, and always dry surfaces immediately with lint-free wipes. Foam degradation from moisture exposure is a leading cause of panel delamination and revalidation failure.
What chemical agents damage PP honeycomb panel surfaces?
PP honeycomb panels resist most common cleanroom disinfectants but degrade when exposed to strong oxidizing agents, concentrated ketones, and aromatic hydrocarbons. Chlorine-based solutions above 200 ppm, acetone, and methyl ethyl ketone (MEK) can cause surface crazing and loss of structural rigidity. Always verify chemical compatibility before introducing new agents into your cleaning rotation.
What is the correct procedure for cleaning GRP sandwich panel walls?
Begin with a dry dust removal step using lint-free wipes or HEPA-approved vacuums to eliminate loose particulates. Apply approved disinfectant with a non-abrasive pad using a unidirectional wiping pattern to avoid cross-contamination. Rinse with clean water if the agent requires it, and dry immediately with a separate lint-free cloth. For GRP panels with gelcoat finishes, avoid abrasive pads that compromise the smooth surface layer—we recommend 0.6mm+ gelcoat options for high-cycle cleanroom environments to extend service life.
How does HVAC operation affect cleanroom panel maintenance schedules?
HVAC systems must be fully operational and stabilized before any sealant application or panel joint work begins. Applying sealant to unpressurized or unconditioned spaces traps moisture and prevents proper curing, leading to premature seal failure. Additionally, HVAC-induced pressure differentials stress panel joints continuously—facilities with unstable pressure control experience 2-3x faster seal degradation. Coordinate all panel maintenance activities with your HVAC commissioning schedule.
Why do cleanroom panels fail revalidation after minor repairs?
Revalidation triggers because any panel intervention—seal replacement, surface repair, or panel swap—alters the certified envelope boundary. ISO 14644-1 requires reclassification testing after modifications that could affect particle generation or airflow patterns. Even replacing a single door seal can necessitate partial or full re-certification depending on your facility’s validation protocol. Preventive maintenance that preserves seal integrity is far more cost-effective than reactive revalidation cycles.