
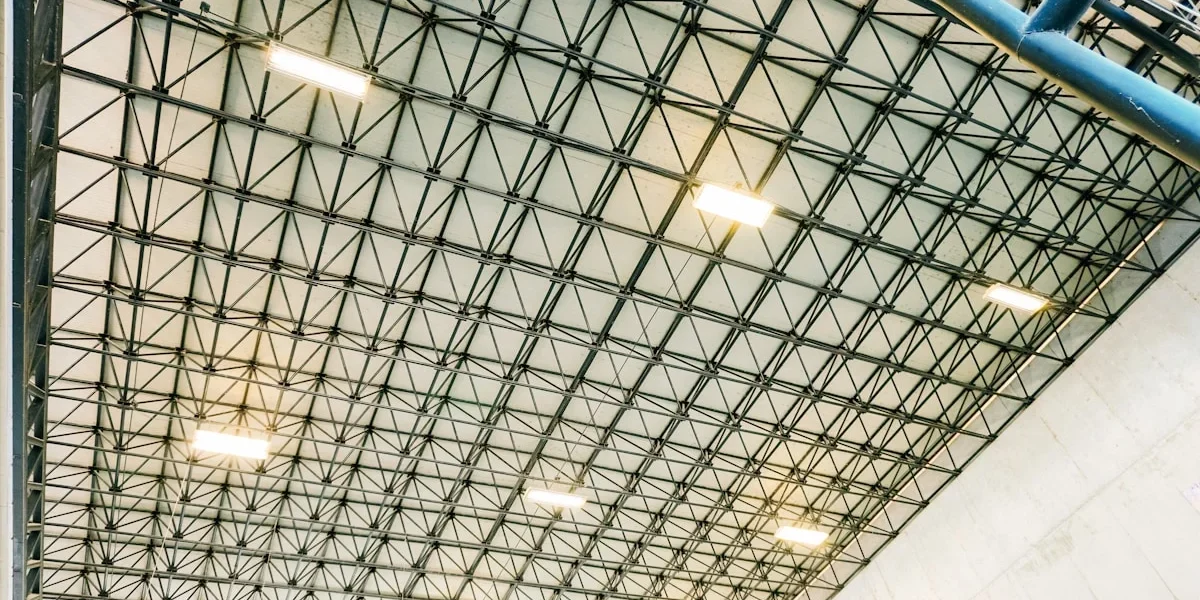
Illuminating a pre-engineered steel building isn’t just about hanging fixtures—it’s about overcoming the unique shadows cast by wide clear spans and high ceilings. Many procurement officers make the mistake of equating higher wattage with better visibility, only to discover that without proper spacing, deep purlin lines create dangerous dark zones in work areas. This guide cuts through the noise on how to actually light these structures efficiently.
The real challenge lies in balancing energy savings with consistent illumination across thousands of square feet. Our analysis of facility operations shows that LED high bay systems paired with strategic daylight integration from skylights can reduce lighting loads by up to 40% while maintaining safe minimum foot-candle levels across entire floors. We focus specifically on installation patterns that align with your structural framing rather than generic coverage maps.
You’ll learn exactly how to calculate optimal spacing between fixtures to eliminate blind spots, evaluate natural light potential based on roof orientation, and choose fixtures that integrate cleanly with purlin and girt placements without adding thermal bridging points. The outcome is a safer workspace with lower utility bills and fewer headaches during commissioning.
How to Assess Lighting Needs for Your Building
A professional lighting assessment goes beyond bulb selection; it integrates operational workflows with the thermal performance of the building envelope to optimize total energy ROI.
Identifying Primary Building Operations
Defining the specific activities within a pre-engineered steel structure is the foundational step before calculating fixture counts. A storage facility requires ambient lighting primarily for navigation, whereas an assembly line or fabrication plant demands high-intensity task lighting to ensure precision and worker safety. The operational density dictates the heat load; for example, continuous manufacturing operations generate significant internal heat, which interacts with the lighting system’s thermal output. To mitigate excessive HVAC costs caused by this combined heat load, utilizing Rax Panel’s high-performance composite sandwich panels with superior thermal insulation properties is essential to stabilize the internal environment.
Evaluating Natural Daylight Potential
Daylight integration is a powerful strategy for reducing electrical consumption, but it must be engineered to prevent thermal penalties. Simply adding skylights without assessing solar heat gain can negate the energy savings of turning off lights by increasing the cooling load. An effective assessment analyzes the building’s orientation and the solar heat gain coefficient of daylight apertures to ensure they comply with local energy codes like ASHRAE 90.1. When designing for daylight, you must ensure the roof and wall penetrations do not compromise the envelope’s air-tightness. Rax Panel provides custom-engineered composite solutions that seamlessly integrate with daylighting systems, maintaining the structural integrity and thermal continuity of the building envelope.
Understanding Required Light Intensity Levels
Quantifying the necessary foot-candle levels for your specific application is the foundation of a cost-effective lighting design. Over-lighting a warehouse results in wasted capital and excessive operational expenses, while under-lighting a workspace creates safety hazards and reduces productivity. This assessment also requires evaluating the reflectance of interior surfaces; dark walls and ceilings absorb light, forcing you to install more fixtures than necessary. By specifying Rax Panel’s smooth FRP or gel-coated facings for your interior walls, you significantly increase surface reflectivity, which amplifies the efficiency of your lighting fixtures and allows for potential downsizing of the electrical system.
| Assessment Category | Key Performance Indicator (KPI) | Recommended Benchmark | Interaction with Building Envelope |
|---|---|---|---|
| Visual Task Analysis | Required Foot-Candle Level | IESNA Lighting Handbook Standards (e.g., 30-50 fc for storage, 100+ fc for assembly) | High interior surface reflectance (e.g., smooth FRP facings) maximizes fixture efficiency and reduces required lumen output. |
| Energy Efficiency Goals | Luminous Efficacy (lm/W) | DLC Premium Qualification Standards (>130 lm/W typically) | Lower heat generation from efficient lighting minimizes cooling load on the thermal insulation cores of sandwich panels. |
| Daylight Integration Strategy | Solar Heat Gain Coefficient (SHGC) | Local Energy Code Compliance (e.g., ASHRAE 90.1) | Integration of translucent skylights or FRP panels must preserve the air-tightness and weather resistance of the roof system. |
| Safety & Durability | UL / ETL & IP Rating | National Electric Code (NEC) & Environment-Specific Protection | Fixtures must be rated to withstand internal humidity and temperature fluctuations managed by the building’s insulation system. |
| Smart Control Systems | Occupancy Sensor Coverage | Automatic Shutoff Requirements (per jurisdiction) | Requires pre-planned electrical conduit runs within wall cavities to avoid compromising the R-value of insulation layers. |
Choosing LED Lights for Your Steel Building
For pre-engineered steel structures, LED High Bay lighting is the operational baseline, offering up to 60% energy savings over legacy metal halide systems while significantly reducing maintenance intervals.
High Bay vs. Low Bay: The Critical Height Distinction
The single most common error when specifying lights for a steel building is ignoring the ceiling height relative to the beam angle. Steel structures, particularly clear-span designs, often feature significant vertical clearance. You cannot interchange these two fixture types without sacrificing light quality and efficiency.
High Bay Fixtures are engineered for mounting heights typically exceeding 15 to 20 feet. They utilize specialized optics with narrow beam angles (often 60° to 120°) to drive light downward to the floor plane without losing intensity to the vast empty space above. Conversely, Low Bay Fixtures are designed for ceilings under 15 feet. They use wider beam angles to prevent “pooling” of light directly underneath the fixture, ensuring smooth, even coverage closer to the work surface. Installing a High Bay in a Low Bay application creates blinding glare and hotspots; installing a Low Bay in a High Bay application results in a dim, washed-out floor.
Decoding Efficiency: Lumens Over Watts
A major pitfall for buyers is shopping based on wattage, a relic of the incandescent and metal halide era. In LED technology, wattage only measures energy consumption, not light output. To accurately assess brightness, you must focus on Lumens and Efficacy (Lumens per Watt).
- System Efficacy: A high-quality industrial LED fixture should deliver between 130 to 160 lumens per watt. If a fixture is rated below 100 lm/w, you are essentially paying for outdated technology that will run hotter and cost more to operate.
- Delivered Lumens: Ignore “initial lumens.” Always ask for delivered lumens, which accounts for thermal losses inside the fixture housing. Steel buildings can trap heat, and cheaper LEDs lose significant output as they heat up.
Color Temperature and Visual Acuity
The “color” of the light, measured in Kelvin (K), drastically affects how workers perceive details and safety in a steel building environment. This is particularly important if the interior utilizes colored reflective panels or specific composite materials where color differentiation matters.
For general industrial and storage steel buildings, a 4000K to 5000K (Cool White) range is the industry standard. This mimics daylight and provides high contrast, which is essential for reading labels, operating machinery, and identifying hazards. Avoid “Warm White” (3000K), which can make a large steel space feel dim and industrial, or “Daylight” (6000K+), which can cause excessive glare and eye strain over long shifts.
Always pair your LED selection with a photocell or motion sensor. Since steel buildings often have opaque skins (like FRP or metal sandwich panels) with limited windows, lights are frequently left on 24/7. Occupancy sensors can automatically cut power to aisles or zones not in use, instantly improving your ROI.
Thermal Management in Metal Structures
While LEDs are efficient, they still generate heat at the diode level. In a pre-engineered steel building—especially those with insulated metal panels or foam cores—heat management is critical. Unlike traditional buildings, steel structures conduct temperature fluctuations rapidly.
You must inspect the fixture’s heat sink. A high-quality LED High Bay will use a heavy-gauge aluminum alloy heat sink to pull heat away from the driver and diodes. If a fixture feels “plasticky” or lacks significant finned surface area, it will fail prematurely in the elevated roof temperatures common in uninsulated or lightly insulated steel buildings. A lifespan rating of L70 at 50,000+ hours is the minimum benchmark for industrial durability.
Be wary of “Damp Location” rated fixtures for standard steel buildings. Unless the interior is climate-controlled and condensation-free, you require “Wet Location” rated fixtures. Temperature differentials between day and night in a steel box often cause condensation to form on the interior roof skin, which can fry non-rated electronics in short order.
Using Fluorescent Lights in Industrial Settings
This factor has a direct bearing on project performance and long-term cost. Addressing it with specific data rather than general assumptions leads to better outcomes.
Addressing Buyer Pain Points: Fluorescent Lighting in Industrial Steel Structures
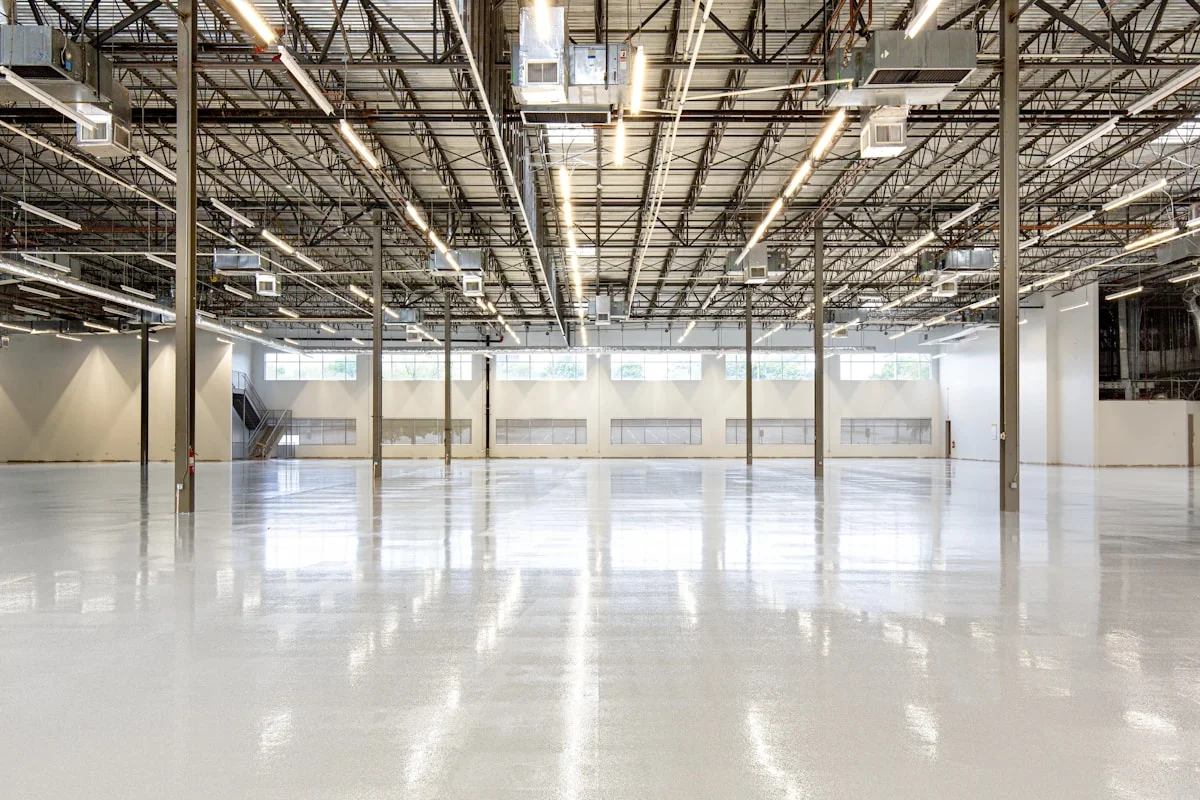
Industrial buyers integrating lighting into steel frame facilities often struggle with the thermal and vibrational limitations of traditional fluorescent technology. Unlike modern LED systems, standard high-bay fluorescent fixtures are sensitive to the mechanical stress common in heavy-duty manufacturing environments. Their glass tubes and ballasts create maintenance burdens that conflict with the operational continuity required by large-scale production floors.
Technical Specifications and Environmental Constraints
When specifying lighting for industrial buildings, it is critical to account for temperature extremes. Fluorescent lamps suffer reduced efficiency and lumen output in cold storage or freezer applications where ambient temperatures fall below 40°F (4°C). Furthermore, these fixtures contain mercury vapor, requiring specialized hazardous waste disposal protocols if broken during installation or operation within a composite panel or steel frame structure.
Beyond thermal performance, the physical integration of lighting systems into building structures introduces additional challenges. This is particularly evident in steel construction, where mounting fixtures must account for conductive heat transfer and moisture accumulation risks inherent to metal frameworks.
Beyond these operational concerns, the installation process itself presents unique thermal challenges that require specific attention to the building’s structural framework.
This thermal sensitivity in fluorescent lighting necessitates a parallel consideration of mounting methods, particularly within steel frameworks where heat conduction and condensation risks are amplified.
Integration with Building Frameworks
In steel construction projects, mounting fluorescent fixtures requires careful consideration of thermal bridging and condensation risks. The metal housing of standard fixtures can conduct heat away from the interior space, affecting overall building energy efficiency. Additionally, older magnetic ballasts generate electromagnetic interference that may affect sensitive monitoring equipment installed near structural steel columns.
For new installations in commercial or industrial zones, designers should verify compatibility with existing electrical infrastructure. Many legacy steel buildings were not designed to support the weight and heat dissipation requirements of multiple rows of high-intensity fluorescent fixtures distributed across high-ceiling spaces.
How to Maximize Natural Light in Your Building
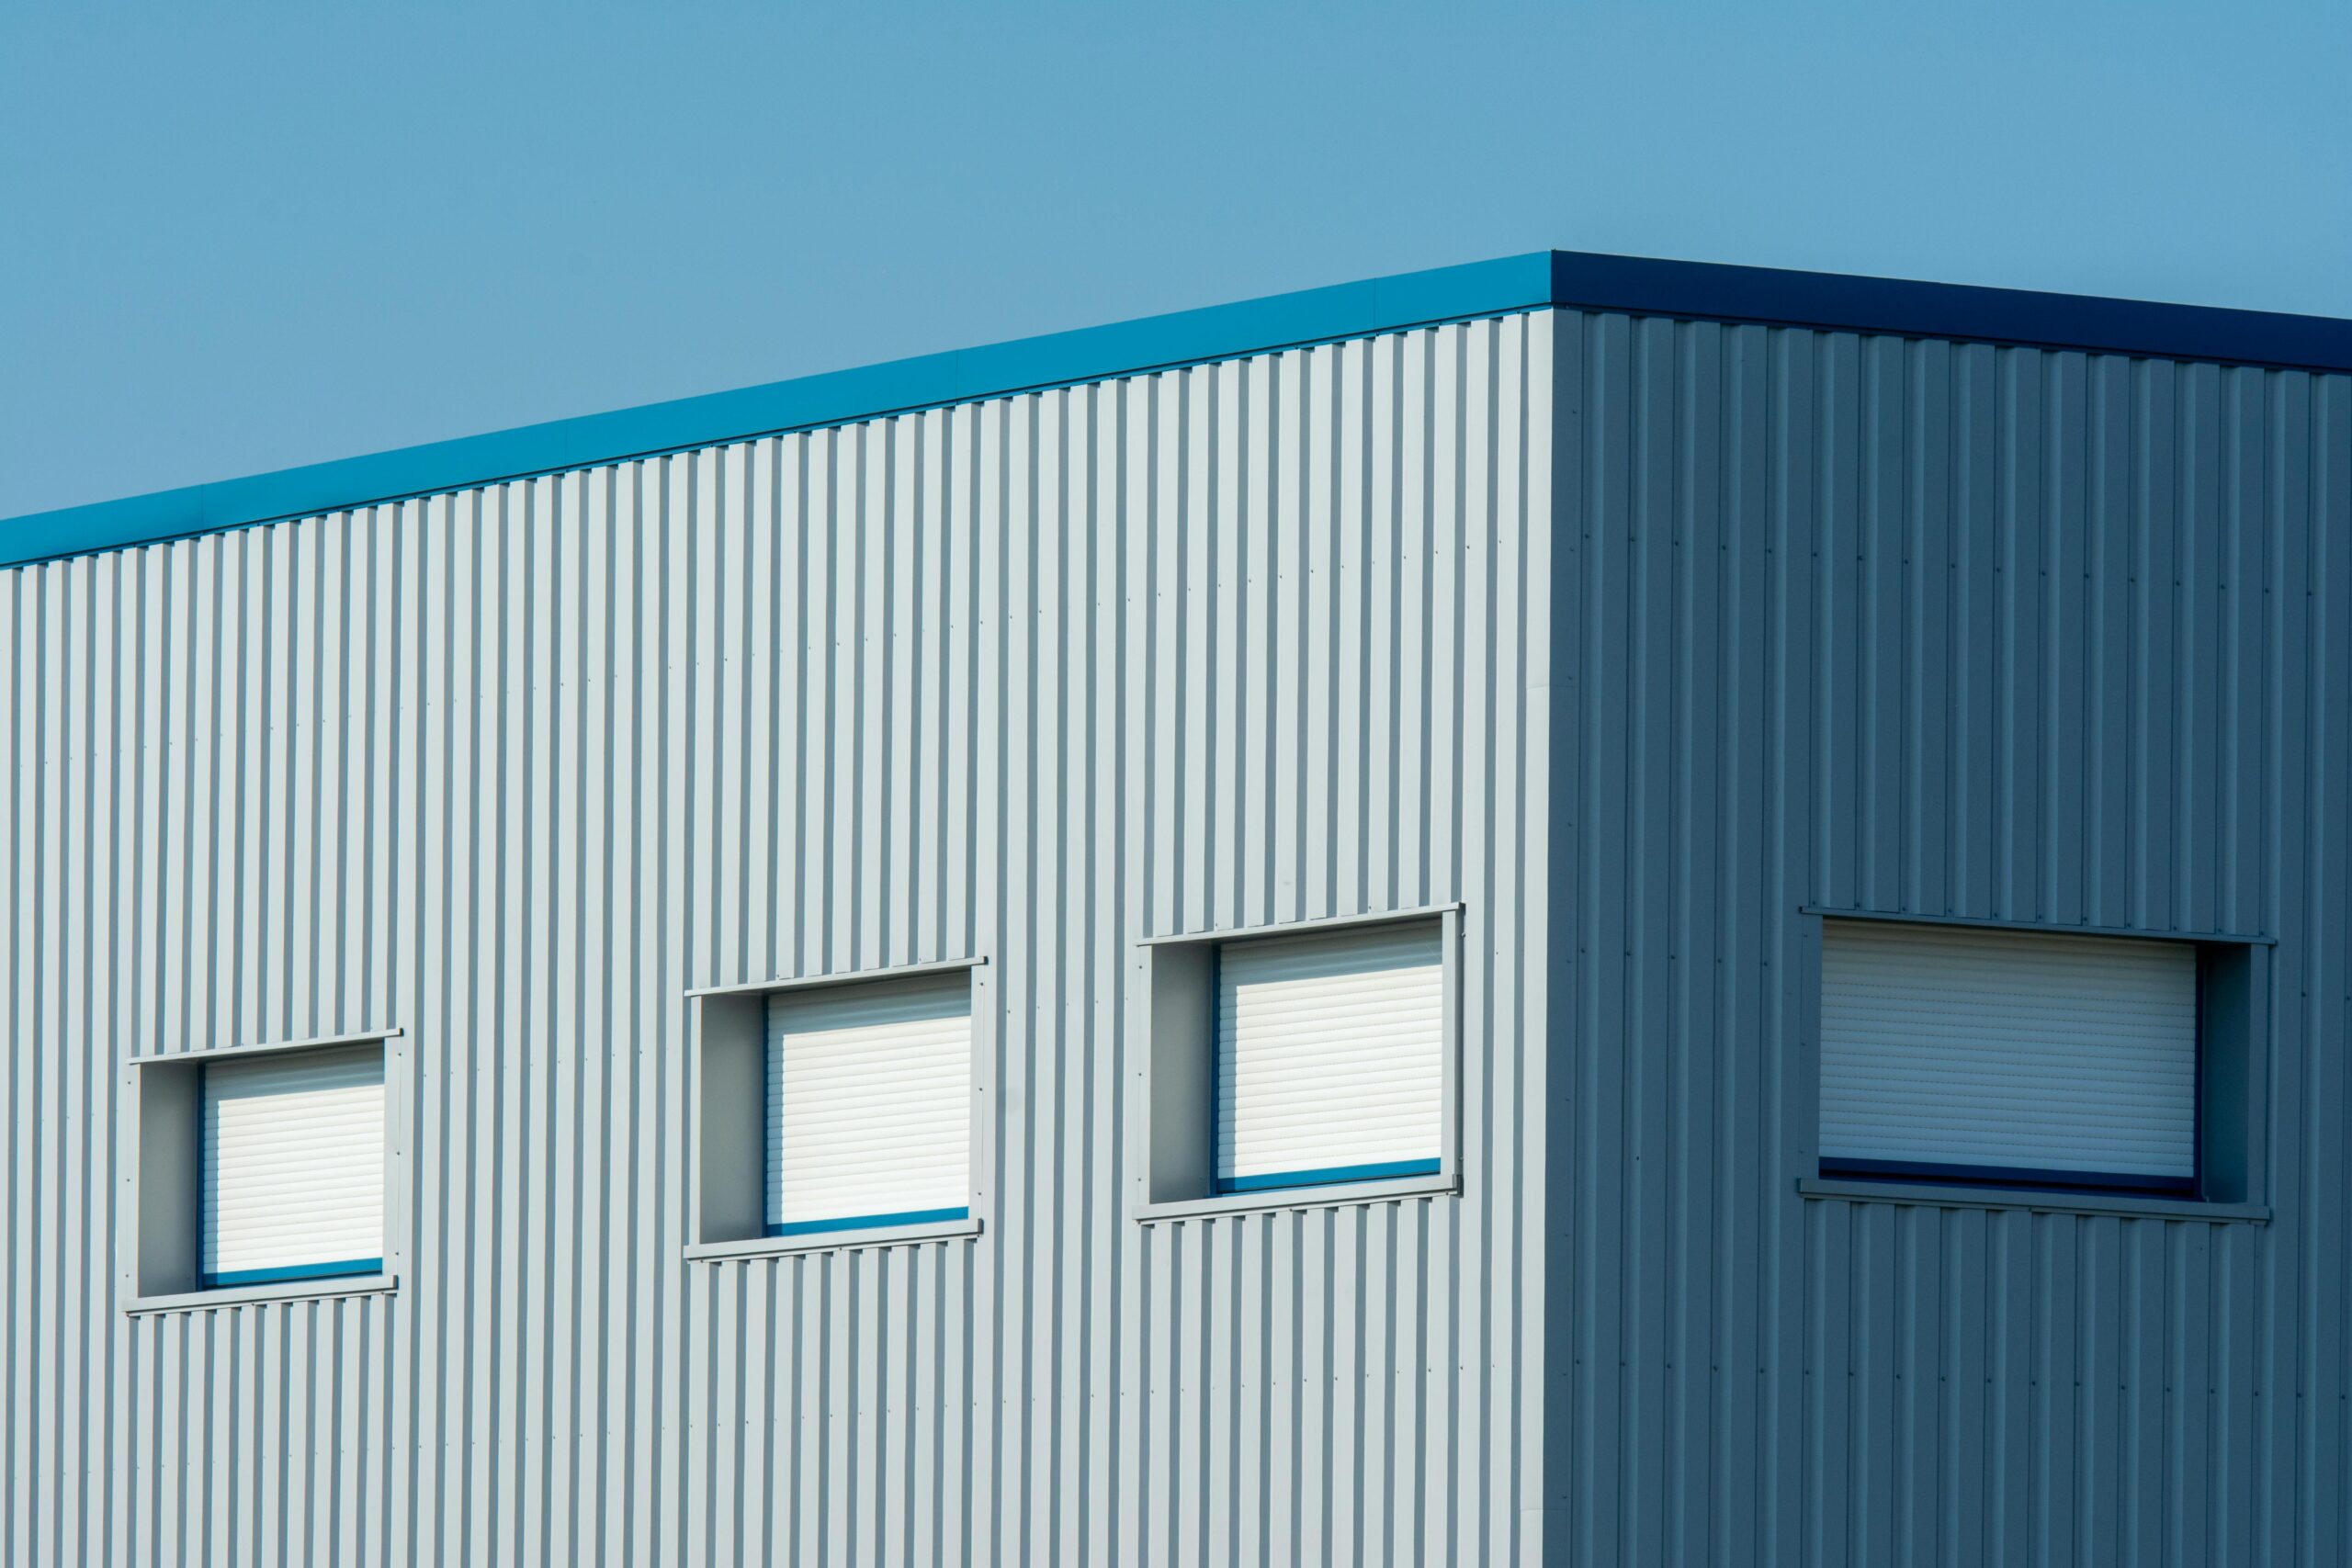
Optimizing daylight penetration relies on selecting high-transparency composite panels with integrated insulation. A typical R-value of 25–30 combined with 60%+ light transmission provides thermal comfort while illuminating interior spaces.
Translucent Composite Panel Selection
When designing buildings for natural light, the primary challenge is balancing illumination with thermal performance and structural integrity. Traditional opaque materials block light, while simple glass fails to provide insulation. The solution lies in engineered sandwich panels that combine a high-transparency facematerial with an insulating core.
Specifically, Glass Fiber Reinforced Polymer (GRP) or CFRP skins are ideal because they offer durability alongside transparency. These can be manufactured as translucent GRP sheets or CFRT sheets. Unlike standard fiberglass which may be opaque, these specific variants allow sunlight to diffuse evenly throughout the interior without creating harsh glare hotspots. This distribution reduces eye strain compared to direct point-source lighting from windows.
Skin-Core-Panel Architecture for Daylighting
The physical structure determines how effectively light enters. A panel design utilizes a transparent facing bonded to a lightweight core material such as XPS (Extruded Polystyrene), PET (Polyethylene Terephthalate), or PMI (Polymethacrylimide).
- Structural Integrity: The core prevents sagging over large spans common in RV roofs, mobile homes, or warehouse ceilings, ensuring the translucent area remains watertight and secure.
- Thermal Barrier: While letting light through, these foam cores prevent heat loss during winter and heat gain in summer, maintaining stable indoor temperatures without sacrificing brightness.
- Durability: Sandwich panels resist weathering better than single-layer plastic or glass, making them suitable for exterior cladding where long-term maintenance is difficult.
Placement Strategies for Integration
Effective maximization involves strategic positioning relative to the sun’s path. Placing translucent sandwich panels on the roof (vertical orientation slightly tilted towards the equator) captures maximum solar radiation throughout the day. For vertical walls, east-facing panels capture morning light, while south-facing panels provide consistent midday illumination.
To prevent excessive heat buildup, consider using tinted or UV-filtered versions of these materials if located in high-sun regions. Alternatively, integrating adjustable louvers or retractable shades above the fixed composite sections allows manual control over light intensity depending on the time of year or season.
Comparing LED, Fluorescent, and Natural Light
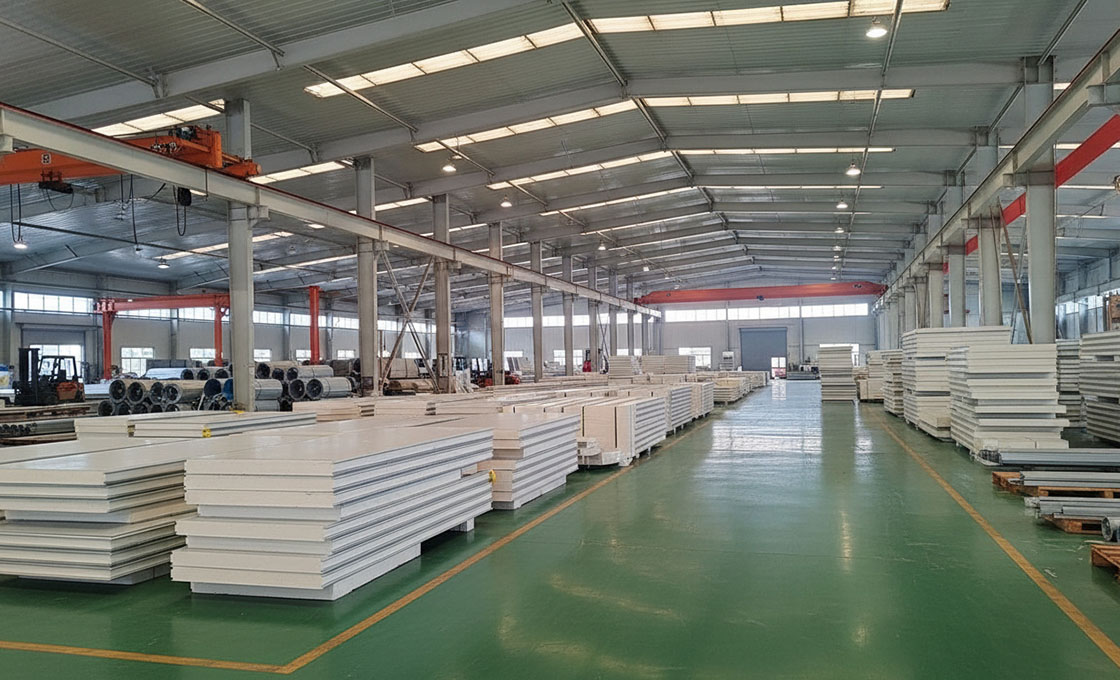
LED offers superior energy efficiency and lifespan compared to fluorescent and natural light systems, though natural daylight remains the most cost-effective source when properly integrated with high-performance building envelopes.
Pain Point: The Trade-Off Between Energy Efficiency and Ambient Comfort
Balancing operational costs against visual comfort and environmental impact remains a primary challenge when evaluating lighting options for commercial or industrial facilities. The core challenge lies in understanding how each lighting source interacts with the building structure—particularly insulation systems and thermal management—which directly influences long-term maintenance expenses and energy consumption patterns.
Technical Comparison: Performance Characteristics
- LED Lighting (High Bay): Delivers consistent illumination with minimal heat output toward occupied spaces, reducing cooling loads. Ideal for high-ceiling applications where directional lighting maximizes visibility without compromising thermal envelope integrity.
- Fluorescent Systems (T5/T8): Generate noticeable ambient heat from ballasts and tubes, requiring additional HVAC capacity to maintain indoor climate control. While effective for uniform low-level lighting, they lack the precision of modern LED arrays.
- Natural Light (Daylighting): Provides free, circadian-friendly illumination but introduces variable solar heat gain unless paired with advanced glazing materials. Requires careful design integration to prevent overheating during peak sunlight hours.
Integration with Composite Building Envelopes
The interaction between lighting types and structural materials significantly affects overall system efficiency. For instance, LED fixtures emit low radiant heat that doesn’t compromise the insulating properties of foam-core sandwich panels, whereas traditional fluorescent systems may indirectly elevate internal temperatures through ballast-generated warmth. Natural daylighting requires complementary solutions such as dynamic glazing or insulated roof monitors to manage solar heat gain effectively.
Selection Guidance Based on Application Context
For cold storage or refrigerated transport environments, minimizing internal heat generation is critical—making LED the preferred choice due to its compact form factor and negligible thermal emission. In contrast, mobile homes or RVs benefit heavily from strategic window placement combined with supplemental LED task lighting to reduce dependency on artificial sources while maintaining year-round comfort standards regardless of geographic location.
| Light Source | Lumens per Watt | Expected Lifespan | Heat Emission Profile | PEB Envelope Impact |
|---|---|---|---|---|
| LED Lighting (High Bay) | 100-160+ lumens per watt | 50,000 – 100,000+ hours | Low radiant heat; directed toward heat sinks | Minimal thermal strain on insulation systems |
| Fluorescent (T5/T8) | 80-100 lumens per watt | 15,000 – 35,000 hours | Moderate to high ambient heat from ballasts and tubes | Increased HVAC load required to dissipate heat |
| Natural Light (Daylighting) | Variable; approx. 100-120 lumens per watt | Infinite source availability | High Solar Heat Gain (SHGC) if uncontrolled | Requires high-performance insulated panels to manage thermal bridging |
Where to Place Lights for Best Coverage
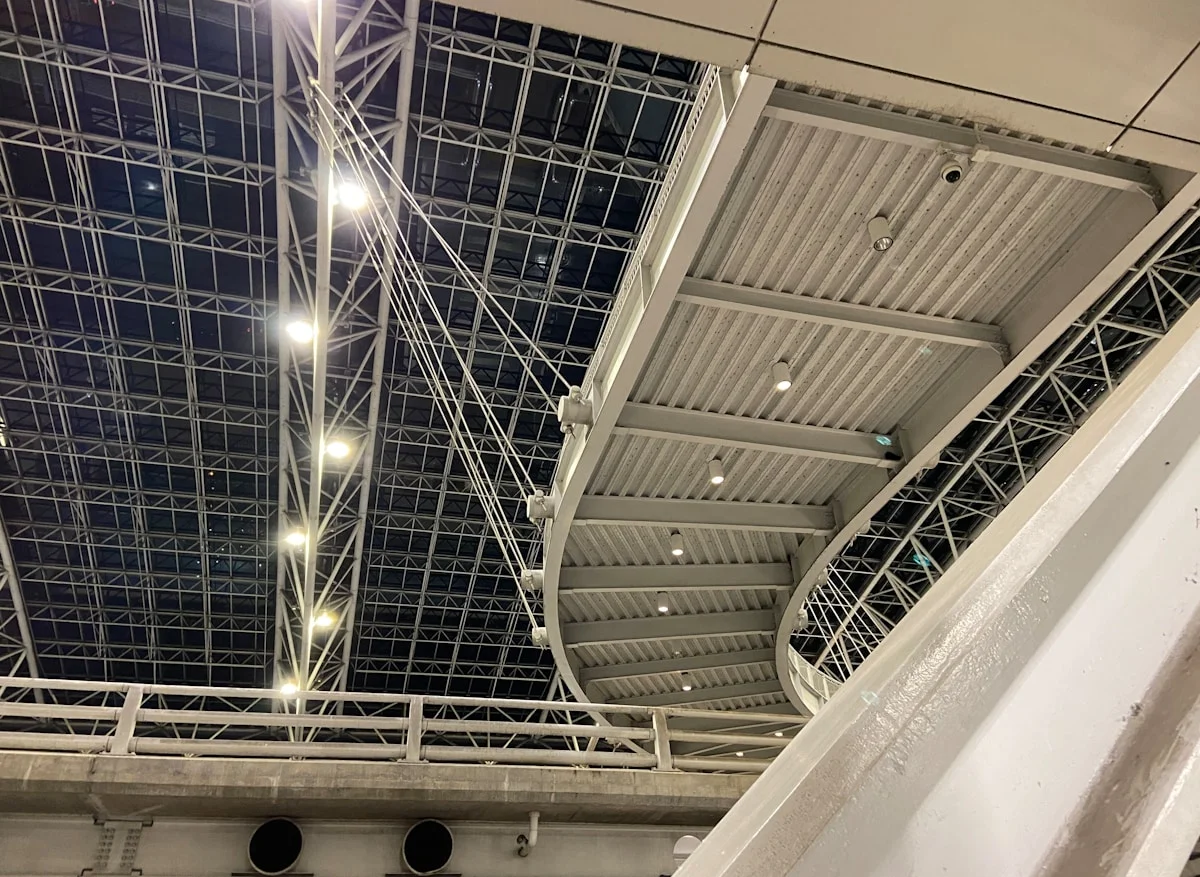
Optimal lighting coverage in composite structures relies on architectural integration rather than just fixture output. To maximize efficiency, align lighting grids with panel modular widths and utilize the high reflectivity of smooth interior skins like white gelcoat to minimize energy waste.
Optimizing High Bay vs Low Bay Placement
When mounting fixtures on composite sandwich panels or the underlying steel structure, the primary constraint is not just lumen output, but the physical load transfer onto the building envelope. High bay fixtures, typically suspended 15 to 40 feet above the floor, impose significant torsional loads. These must always be anchored directly to the structural purlins or rigid framing members, never suspended solely from the composite skin. Drilling through a foam or honeycomb core without proper reinforcement creates a point of failure that compromises the panel’s structural integrity and thermal seal.
Conversely, low bay placement—often under 15 feet—allows for surface-mounted options. However, for composite panels, surface mounting requires the use of substantial backer plates or spread bars. These distribute the fixture’s weight across a wider area of the sandwich panel, preventing the crushing of the core material, whether it is XPS, PU, or PP honeycomb. Always verify the pull-out strength of the specific facing material, such as GRP or aluminum, before committing to a surface-mount layout.
Planning Spacing for Wide Clear Spans
Achieving uniform coverage in wide-span buildings is a geometric challenge that must respect the modular nature of the building envelope. Rather than spacing fixtures arbitrarily, the layout should mirror the standard width of the composite panels—commonly 1000mm or 1200mm modules. Aligning the lighting grid directly with the panel joints ensures that fixtures are positioned over the structural ribs where mounting is safest and most secure. This strategy eliminates the need to cut through the center of panels, preserving the continuous thermal barrier and waterproofing membrane.
additionally, utilizing the full width of the structure allows for a calculated “overlap” of light coverage. In buildings with high ceilings, spacing fixtures at a distance equal to or less than their mounting height (a 1:1 spacing-to-mounting-height ratio) ensures that the light cones intersect at the work plane level. This prevents the “cave effect” where the perimeter of the building remains dim, a common issue when lights are clustered solely in the center of wide clear spans.
Minimizing Shadow Zones in Work Areas
Shadow zones in industrial environments are often caused by obstructions like racking systems or machinery blocking the light path. The solution lies partially in the physics of the interior surface material. Composite panels finished with a white gelcoat or a smooth, light-colored FRP skin act as diffusive reflectors. Unlike raw metal or dark finishes which absorb light, these high-reflectivity surfaces bounce ambient illumination back into the workspace, effectively softening harsh shadows cast by equipment.
For work areas requiring high task visibility, strategic placement is critical. Avoid positioning large lights directly parallel to long rows of shelving, as this creates deep shadows between aisles. Instead, orient fixtures perpendicular to the aisles or utilize linear lighting systems that can be run continuously between the structural bays. In composite buildings, this often means suspending linear fixtures from the bottom flange of the purlins, ensuring the light source is dropped deep into the aisle rather than remaining high above the obstruction.
Integrating Fixtures with Skylight Placement
Natural daylight integration is a highly efficient method to reduce reliance on artificial fixtures, but it requires careful coordination with the composite panel roofing system. The most effective approach involves replacing sections of opaque sandwich panels with translucent GRP (Glass Reinforced Plastic) sheets. These sheets, often matching the profile of the surrounding metal or composite roof panels, allow diffused natural light to enter without the heat gain or glare associated with clear glass.
Conclusion
Choosing the right lighting system for your pre-engineered steel building requires evaluating operational needs alongside natural light potential. High bay LED fixtures offer superior energy efficiency and lifespan, especially in environments with high ceilings and large clear spans. Proper placement minimizes shadow zones and ensures consistent illumination across work areas.
Frequently Asked Questions
This factor has a direct bearing on project performance and long-term cost. Addressing it with specific data rather than general assumptions leads to better outcomes.
Why replace HID with LED fixtures?
LEDs provide instant-on illumination without the long warm-up periods required by high-intensity discharge lamps. They offer significantly longer lifespans, reducing maintenance frequency and replacement costs in high-bay applications. LED technology also maintains consistent light output over time, unlike HID lamps which depreciate quickly.
What reduces operational lighting costs?
High-efficiency LED fixtures significantly lower energy consumption compared to traditional metal halides. Implementing controls like occupancy sensors and daylight harvesting prevents unnecessary usage during unoccupied hours. These combined strategies offer the fastest return on investment for pre-engineered facilities.
Do lighting fixtures qualify for rebates?
Yes, fixtures listed on the DesignLights Consortium (DLC) Premium or Standard lists typically qualify. Utility companies provide financial incentives for installing energy-efficient lighting that meets specific performance criteria. Verifying DLC status before purchasing is essential for maximizing rebate opportunities.
Which safety certifications are mandatory?
Industrial lighting should carry UL or ETL listings to ensure compliance with electrical safety standards. For hazardous locations, fixtures require specific NEMA or ATEX ratings to prevent ignition. These certifications verify that the equipment can withstand the environmental conditions of the building.
How do smart controls optimize usage?
Smart controls integrate sensors to automatically adjust lighting levels based on occupancy and available daylight. This automation minimizes energy waste in areas that are frequently unoccupied or naturally lit. Advanced systems also provide data analytics to track energy usage patterns over time.