
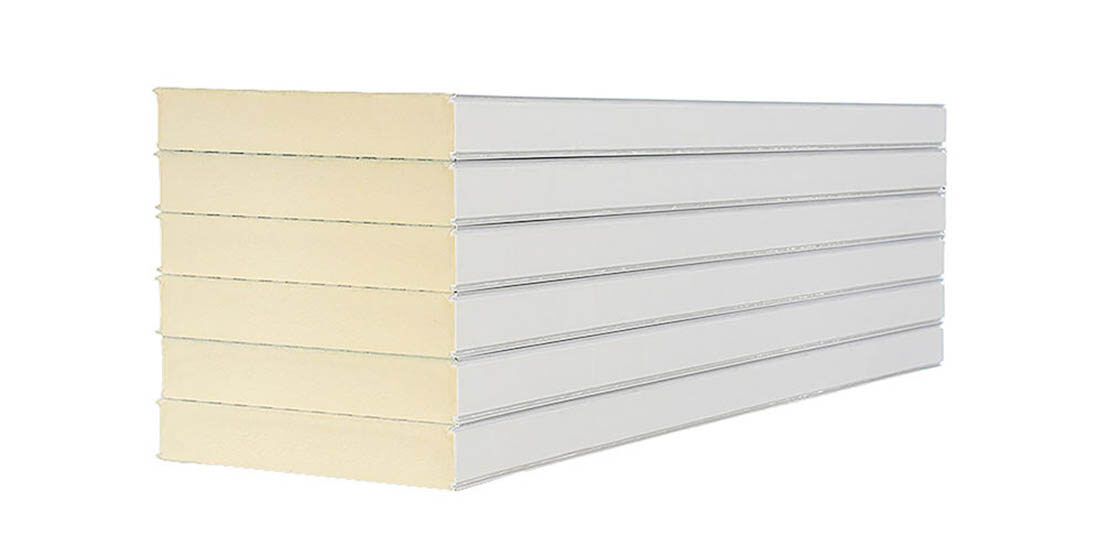
Treating cleanroom sandwich panel installation like standard drywall guarantees an ISO 14644 fail. You aren’t just building a partition; you are fabricating an airtight vessel. Wall panels need a perpendicularity deviation under 0.15% to keep gaskets sealed. Miss that tolerance, and the inspector will order a teardown on the spot.
Deadlines rely on execution details, not theory. Set up an installation grid to handle thermal bridging and use hoisting techniques that won’t skin the panels. You also need to pick the right sealant—chemical cold weld versus silicone—based on your specific ISO class requirements. Nail these steps to avoid costly change-order delays during validation.
Site Preparation and Installation Tooling
Precision in modular assembly is dictated not by the installation phase itself, but by the rigor of site preparation long before the first panel arrives on the floor.
Substrate Flatness and Structural Alignment
Modular systems only work if the floor is flat. Even precise panels fail if the substrate isn’t laser-leveled within +/- 2mm. Anything wider than that prevents locking mechanisms from engaging, which leads to misalignment and air leaks. You need a plumb, square foundation so the structure sits flush without forcing the joints.
Environmental Control and Storage Protocols
PU, PET, and XPS cores act like sponges if you store them wrong. Keep ambient humidity below 60% to stop internal condensation from ruining the bond. If you don’t, the R-values on your data sheet become useless. Dry storage is the only way to guarantee the insulation performance you paid for.
Specialized Handling Equipment
Large surface areas turn lightweight panels into sails during a lift. Use vacuum lifters with soft suction cups to spread the load and protect the gelcoat. Rigid gear concentrates point pressure, which fractures the core or cracks the GRP. Using the right rigging is the only way to keep panels intact while positioning them.
Pre-Installation Documentation Alignment
Architectural drawings often clash with manufacturer shop drawings. You must align vendor docs with site realities before mobilization to fix these gaps. Verify load calculations against the framework and double-check that your fire rating selection matches the thermal specs. Catching mechanical penetration clashes now saves days of rework later.
| Category | Tool / Requirement | Specification / Type | Installation Note | Compliance / Benefit |
|---|---|---|---|---|
| Site Preparation | Structural Framework | Framework Tracks | Verify alignment is plumb, square, and level before mounting to prevent locking mechanism failure. | Ensures smooth integration with Rax high-precision lightweight panels. |
| Installation Tooling | Cutting Tools | Cold-cut Blades, Fine-tooth Circular Saws, Electric Nibblers | Strictly use cold-cutting methods; never use angle grinders to prevent core damage. | Preserves the structural integrity and insulation properties of composite cores. |
| Installation Tooling | Fastening Tools | Precision Screw Guns | Use correct torque settings; pair with self-tapping screws and EPDM washers. | Ensures secure fixation while maintaining waterproof and airtight seals. |
| Installation Materials | Joint Sealants | Butyl Tapes, Compatible Sealants | Apply tightly at natural joints and overlaps; fasten through structural ribs for roofs. | Eliminates thermal bridges and enhances the building envelope’s thermal efficiency. |
| Site Preparation | Safety & Lifting Gear | Wind Speed Monitor, PPE, Suction Lifters | Halt installation if wind speed exceeds 10 meters/second to avoid ‘sail effect’. | Protects personnel and prevents damage to large surface area panels. |
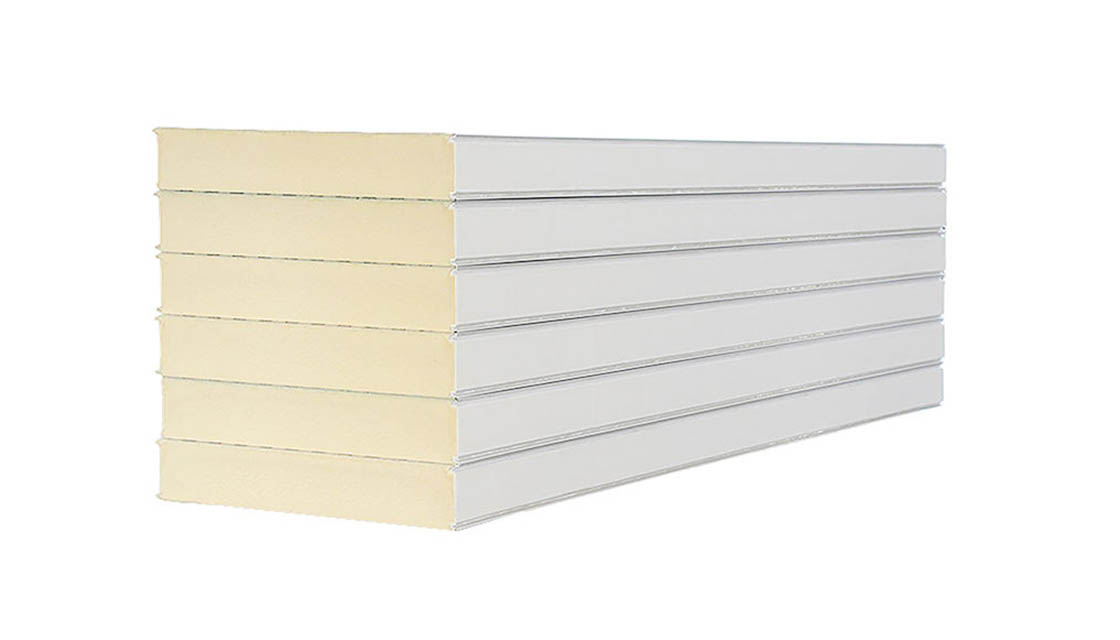
Establish Installation Grid and Base Tracks
Start with the grid layout—if base tracks drift, the walls will never align. Aluminum tracks act as thermal bridges, so install thermal break profiles at junctions to maintain insulation integrity. Keep perpendicularity deviation within 0.15% using a laser level; if the floor grid is off, ceiling modules won’t fit and you’ll spend days shimming gaps.
Hoist and Position Wall Panels
[{
“type”: “quote”,
“content”: “Lightweight composite panels accelerate deployment speed, but their structural integrity relies entirely on avoiding point-load damage during the hoisting and positioning phase.”
},
{
“type”: “h3”,
“content”: “Vacuum Lifting and Surface Protection”
},
{
“type”: “paragraph”,
“content”: “You cannot treat a GRP or FRP sandwich panel like a sheet of steel. While the core—whether XPS, PU, or PP honeycomb—provides high rigidity, the skin is susceptible to compression and scratching. Using standard chain hoists, fork tines, or metal clamps on the panel face is a guaranteed way to fail the visual inspection phase of an ISO 14644 handover.”
},
{
“type”: “pro_tip”,
“content”: “In our factory, we utilize and recommend vacuum lifters equipped with wide-diameter, soft suction cups. For our CFRT and Honeycomb panels, this distributes the lifting force evenly across the surface area. We have tested our gelcoat finishes to withstand standard vacuum pressures, but sharp edges or metal-on-metal contact will immediately compromise the waterproof seal.”
},
{
“type”: “h3”,
“content”: “Precision Alignment and Perpendicularity”
},
{
“type”: “paragraph”,
“content”: “Once the panel is lifted, it must be positioned onto the base tracks with zero tolerance for error. The industry standard for perpendicularity deviation in cleanroom construction is strict; it must not be greater than 0.15%. Exceeding this tolerance creates uneven gaps that mechanical cam-locks cannot bridge, leading to future structural misalignment.”
},
{
“type”: “warning”,
“title”: “Critical Alert: Core Crush Risk”,
“content”: “Never use pry bars or crowbars directly against the foam or honeycomb core edges to force alignment. This concentrated force crushes the core material, destroying the thermal insulation properties and creating a permanent weak point in the wall structure. Always use dedicated non-marring alignment tools.”
},
{
“type”: “step_list”,
“steps”: [
“Engage the vacuum lifter and verify the hold is secure before lifting off the dunnage.”,
“Align the panel bottom vertically with the pre-installed U-slot or track, ensuring no twisting occurs.”,
“Lower the panel gently until it rests on the base track but do not release the vacuum yet.”,
“Use a laser level to verify the 0.15% perpendicularity standard before final placement.”,
“Release the vacuum and temporarily brace the panel if required before engaging the connection system.”
}
}
]
Engage Cam-Lock Connections and Alignment
Cam-lock systems are the primary driver for rapid, cleanroom-compliant assembly; precise alignment during engagement is non-negotiable to prevent panel lipping and ensure airtight integrity.
Cam-locks sit inside joints to pull panels tight, hiding screw heads that would otherwise catch dust. You won’t hit ISO 14644 compliance if the panels aren’t flush, so maintain perpendicularity deviation under 0.15%. Miss this tolerance and the locks won’t seat correctly, compromising both the sterile seal and structural integrity.
Precision Alignment and Tolerance Control
A flush surface relies entirely on the machining of cam-lock pockets. If the depth is off by a fraction, rotation pulls the skin unevenly to create “lipping” that traps particles. We CNC-route these pockets with sub-millimeter accuracy to eliminate on-site grinding, guaranteeing strict flatness standards.
Never force a cam-lock if the panels are not vertically aligned. Cross-loading the mechanism can strip the internal threads or crack the panel skin, especially in fragile FRP or lightweight aluminum honeycomb cores. Always verify the initial gap is uniform before rotating the cam lever.
📋 Actionable Steps
- Insert the cam-actuator into the bottom panel and push until it clicks securely into the retainer.
- Align the top panel vertically and ensure the male and female profiles are square before locking.
- Rotate the cam-lever 180 degrees and use a screwdriver or cam-key to fully engage the lock.
- Run a straightedge across the joint to check flushness. See a step? Release the cam lock slightly. Shim the gap properly before clamping it back down.
For high-humidity areas like washrooms, we recommend applying a light bead of non-hardening sealant inside the cam-lock pocket before assembly. This acts as a secondary moisture barrier that locks into place as the cam rotates, preventing capillary action along the joint core.
Install Ceiling Grid and Panels
A cleanroom’s integrity relies on the ceiling grid; improper suspension leads to differential pressure loss and catastrophic filtration failure during maintenance cycles.
Grid alignment controls airflow uniformity. The system must hold heavy HEPA filters and lights without sagging. You need a rigid suspension to absorb vibration, even if the panels are light.
Grid Suspension and Leveling Strategy
Hang main carriers and cross tees on adjustable rods first. Calculate spacing based on panel density and load, not drywall habits. Standard 48-inch centers fail here—you need tighter intervals or heavy extrusions for laminar flow hoods.
📋 Actionable Steps
- Mark suspension points directly on the structural slab. Snap lines to match wall module dimensions perfectly. That avoids partial cuts and saves material costs.
- Secure threaded rods with expansion anchors into the deck. Plumb them strictly. If they aren’t vertical, you induce torque that throws the whole ceiling out of level.
- Hang main runners and level them with a laser transit. You must hold a flatness tolerance under 1.5mm over a 3-meter span to pass ISO 14644 visual checks.
- Snap the cross tees into the main runners to lock the grid rigid. You need that structure to stop vibration when the HVAC ramps up. Without this, your clean room sandwich panel installation guide stability checks will fail.
In our of production, we have found that using Rax Panel’s PP honeycomb or CFRT lightweight panels allows contractors to increase rod spacing to 1200mm centers in non-walkable areas, reducing installation labor by nearly 20% compared to traditional mineral fiber ceilings.
Core Material Selection and Load Capacity
Treat ceiling panels as structural components, not cosmetic finishes. Standard lay-in tiles can’t handle the compressive strength required for walkable areas. Use a PU foam core here, and technicians’ boots will leave permanent dents immediately.
📋 Actionable Steps
- Specify GRP-faced XPS or PU foam cores for non-walkable ceilings. They carry the panel weight and standard lighting loads fine, but they cannot handle foot traffic. Never let a maintenance crew walk on them.
- Specify Aluminum or high-density PP Honeycomb cores for walkable ceilings. These cores distribute point loads effectively, so technicians won’t deform the panels during filter maintenance. Using foam here risks both structural failure and voiding your cleanroom panel fire rating selection.
- Use PET Foam or closed-cell PVC cores in high-humidity areas. They stop moisture absorption, which prevents sagging and bacterial growth inside the core. The wrong material guarantees you will fail cleanroom panel airtightness testing methods later.
Direct metal-to-metal contact between the aluminum T-bar grid and steel studs can create significant thermal bridges, leading to condensation and energy loss. We recommend installing a continuous thermal break or using gasketed grid clips where the ceiling grid meets the wall support channels.
Cut-Outs and Integration Precision
Cut-outs for lighting and fire dampers are where most jobs fail. Field-cutting exposes the core, creating a particle leak path and breaking the fire rating. For strict ISO 14644 panel installation compliance, always insist on factory-fabricated cut-outs.
**Meta Description:** Expert guide to clean room sandwich panel installation. Learn how to select cores, ensure ISO 14644 compliance, and prevent air leaks.
**Focus Keywords:** clean room sandwich panel installation guide, ISO 14644 panel installation compliance checklist, cleanroom panel fire rating selection, cleanroom panel airtightness testing methods
📋 Actionable Steps
- Accept pre-finished cut-outs with gel coat only. Exposed raw cores create thermal bridging, letting moisture destroy the insulation from the inside out.
- Pad your lifting gear before sliding panels into the grid. A metal clamp slip ruins the gel-coat surface and instantly spikes your replacement costs. Protect the finish to keep your budget intact.
- Inspect T-bar gaskets for cracks or gaps before installation. A bad seal guarantees you will fail the airtightness tests. Intact gaskets are the only barrier stopping air leaks.
We pre-cut and reinforce these openings in the factory based on your shop drawings. This keeps the core sealed and the skin strong. Avoid risky field modifications that could void your fire rating compliance.
Apply Sealant and Install Gaskets
Apply chemical cold weld or silicone sealant in a continuous bead without stopping. Never break the bead in the middle of a joint. Twisted gaskets break the pressure seal and cause you to fail ISO 14644 compliance.
Integrate Doors and Service Penetrations
Field-cutting composite panels is the primary cause of ISO 14644 non-compliance; factory-fabricated openings eliminate debris, guarantee structural integrity, and reduce on-site labor by 30%.
Door Integration and Structural Reinforcement
Don’t hang a heavy steel door on a standard sandwich panel; the skin cannot support the hinge load. We embed structural steel sub-frames during lamination to transfer the weight to the floor. This prevents stress fractures and ensures long-term durability for maintenance schedules.
**Meta Title**
How to Install Sandwich Clean Room Walls: 2026 Spec Guide & Checklist
**Meta Description**
Expert guide to installing cleanroom sandwich panels. Covers ISO 14644 compliance, fire ratings, thermal bridging solutions, and airtightness testing methods.
**Focus Keywords**
clean room sandwich panel installation guide, chemical cold weld vs silicone seal cleanroom panels, ISO 14644 panel installation compliance checklist, cleanroom wall panel thermal bridging solutions, cleanroom panel fire rating selection, cleanroom panel airtightness testing methods, cleanroom installation cost comparison by panel type, cleanroom panel maintenance checklist
**Image Configuration**
[Image Placeholder: Cleanroom Panel Junction Detail – A technical cross-section diagram illustrating the ‘cam-lock’ mechanism between two panels, highlighting the gasket compression zone and thermal break insulation to prevent thermal bridging.]
For high-traffic areas, specify ‘knock-out’ reinforcements during the ordering phase. Our factory can embed threaded inserts or solid timber backers within the XPS or PU core at precise coordinates, allowing for rapid hardware installation without compromising the panel’s thermal bridge resistance.
Service Penetrations and the ‘Achilles Heel’ of Airtightness
Pipe and HVAC cutouts are the biggest leak sources on any job site. Drilling through a Rockwool or Foam Core Sandwich Panel voids your fire rating instantly unless you treat it as an active seal. You must engineer every penetration to pass your ISO 14644 panel installation compliance checklist.
Don’t use the same seal everywhere. Static lines in GRP/FRP panels need a backing rod paired with low-outgassing silicone to stop contamination. When you compare chemical cold weld vs silicone seal cleanroom panels for high-traffic zones, a gasketed escutcheon plate is the only choice to prevent dust.
Uninsulated metal sleeves passing through panels create catastrophic thermal bridges, leading to condensation and mold growth. Always use thermal break sleeves or insist on factory-molded insulation boots that align with the panel’s core thermal conductivity.
Fire Rating Preservation at Apertures
One sloppy cutout ruins a 2-hour fire rating, even if the panel passes ASTM E-84 testing. Exposed PIR or PUR foam inside a chase becomes a fire tunnel if left unprotected. Your cleanroom panel fire rating selection must include intumescent collars to automatically seal these gaps during a heat spike.
Send us your M&E drawings and we’ll factory-fabricate the penetrations before the panels ship. You get pre-cut, sealed openings ready to hang immediately. This is the only way to follow a clean room sandwich panel installation guide without risking your fire rating on-site labor errors.
Airtightness Validation and Compliance Certification
Certification failures rarely stem from the panel core but from the sealant interface. Validating airtightness requires rigorous pressure decay testing and forensic-level joint inspection.
Leak Rate Verification per ISO 14644
You can’t pass ISO 14644 compliance with just a visual check; you need hard data. A blower door test pressurizes the room to quantify exactly how much air you lose per hour. Standard cleanroom panel airtightness testing methods also use smoke pencils to visually trace where that pressure escapes.
In our field experience, over 90% of test failures occur at the ceiling-to-wall transition and cable tray penetrations rather than the panel seams themselves. We recommend focusing smoke testing efforts on these complex geometries before initiating the full blower door pressurization to save time and rework costs.
Joint Integrity and Thermal Bridging Inspection
Don’t just look for straight lines; check the gaps between joints. Any space over 2mm between panels creates an air leak or a thermal bridge. Since metal-on-metal contact transfers heat and causes condensation, effective cleanroom wall panel thermal bridging solutions rely on tight gaskets and undisplaced insulation.
Meta Title: How to Install Sandwich Clean Room Walls: 2026 Spec Guide & Checklist
Meta Description: Master cleanroom wall installation with this 2026 spec guide. Learn sealant selection, fire rating protection, and airtightness testing to ensure ISO 14644 compliance and eliminate leaks.
Focus Keyword: clean room sandwich panel installation guide
Inspect the gelcoat surface of GRP/FRP panels closely for micro-fractures at corners. These often result from over-tightening cam-locks during installation. While seemingly cosmetic, these cracks can harbor contaminants and expand under operational vibration, threatening the sterile environment.
Post-Seal Surface Sanitization
Uncured sealant attracts particulates, which instantly compromises the cleanroom environment. Standard wiping fails here. You need a chemical solvent prep. Apply 70% Isopropyl Alcohol (IPA) to strip uncured oils and release agents without damaging the gel coat finish.
📋 Actionable Steps
- Step 1: Scrub all sealed joints with IPA-soaked lint-free wipes. Remove every trace of silicone or polyurethane squeeze-out immediately.
- Step 2: Inspect window frames and internal corners for trapped debris. These shadowed areas accumulate dust during installation and will ruin your particle count.
- Step 3: Allow all surfaces to fully evaporate before running the particle count test. Residual moisture causes false contamination spikes, forcing you to re-test the entire zone.
Audit Dossier Compilation
ISO auditors require full traceability, not generic checklists. Map specific panel batch numbers directly to their installation locations on the floor plan. Keep the MSDS, fire certification sheets, and a log of all on-site modifications ready for review.
Because Rax Panel tracks production batches daily in our 1,700-square-meter facility, we can provide mill-certificates and specific performance data for every shipment. We advise our clients to request these detailed batch logs upfront; having the manufacturer’s data ready accelerates the certification audit significantly compared to relying on third-party generic specs.
| Feature | Detail |
|---|---|
| Data Error | Failed to load parameters |
Key Takeaways
Secure ISO 14644 compliance during the initial grid setup—skimping here costs more than expensive sealants later. If you ignore floor flatness tolerances, even premium rockwool panels will fail the blower door test. Use laser levels and proper shims. That is the only way to pass certification on the first attempt.
Fifteen years of R&D data helps us eliminate thermal bridging and prevent expensive retrofits. We pre-select skins and cores to match your humidity and fire-rating requirements. Upload your floor plans, and we verify the specs to guarantee cleanroom performance.
Frequently Asked Questions
This factor has a direct bearing on project performance and long-term cost. Addressing it with specific data rather than general assumptions leads to better outcomes.
How much does install sandwich clean typically cost?
The cost of install sandwich clean varies based on material grade, thickness, panel dimensions, and order volume. Requesting a detailed quote with your project specifications is the most reliable way to get an accurate figure. Bulk orders typically reduce per-unit pricing significantly.
What factors affect the price of install sandwich clean?
The cost of install sandwich clean varies based on material grade, thickness, panel dimensions, and order volume. Requesting a detailed quote with your project specifications is the most reliable way to get an accurate figure. Bulk orders typically reduce per-unit pricing significantly.
How long does install sandwich clean last under normal conditions?
With proper installation and routine maintenance, install sandwich clean can last 20 to 30 years or more. Actual lifespan depends on environmental exposure, load conditions, and whether the protective surfaces remain intact over time.
What maintenance does install sandwich clean require?
Routine inspection twice a year is usually sufficient. Check seals, joints, and surface coatings for damage. Clean with mild detergent and water — avoid abrasive tools that could scratch protective layers. Address minor damage promptly to prevent moisture ingress.
How do you clean and maintain install sandwich clean?
Routine inspection twice a year is usually sufficient. Check seals, joints, and surface coatings for damage. Clean with mild detergent and water — avoid abrasive tools that could scratch protective layers. Address minor damage promptly to prevent moisture ingress.