
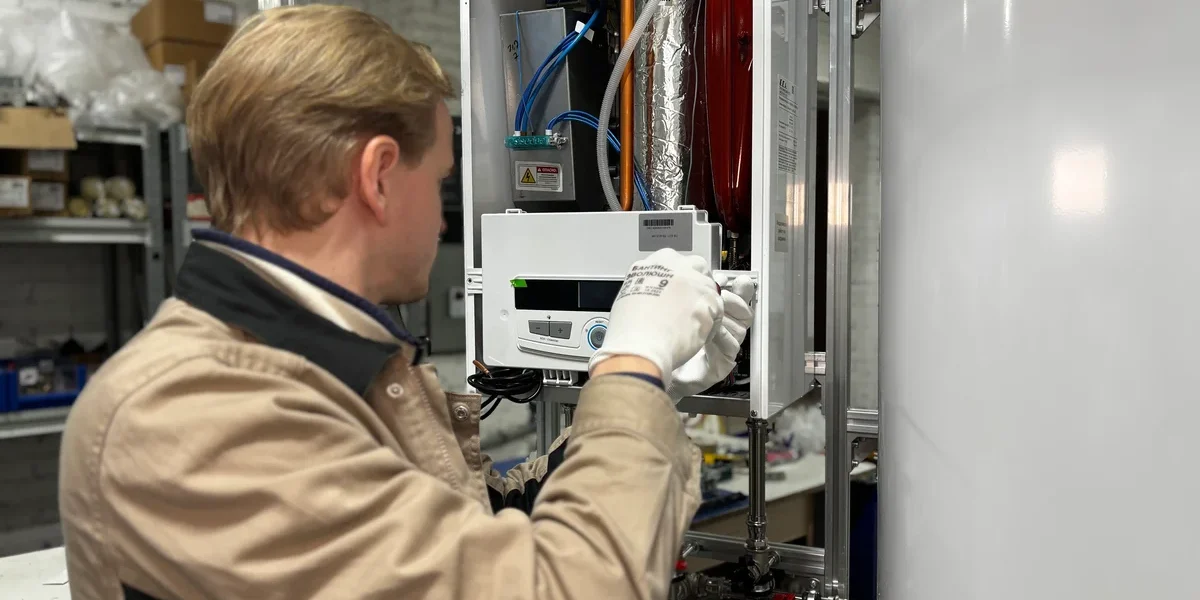
Improper panel alignment kills thermal efficiency faster than a failing compressor. You can specify the highest-rated polyurethane foam on the market, but if the cam-lock connections aren’t torqued correctly during installation, you create thermal bridges that drive up condensation risks and inflate energy costs. Effective cold room assembly relies on precision rather than just materials, and skipping foundation leveling to save two days on the schedule usually results in structural misalignment that voids your warranty.
Engineers calculate cooling loads based on a baseline of roughly 75 watts per cubic meter for a standard freezer, but that metric assumes perfect airtightness. We analyze the specific ROI implications of DIY installation versus professional crews, the exact protocols for gasket sealing, and the safety compliance standards you must meet to pass a commercial building inspection.
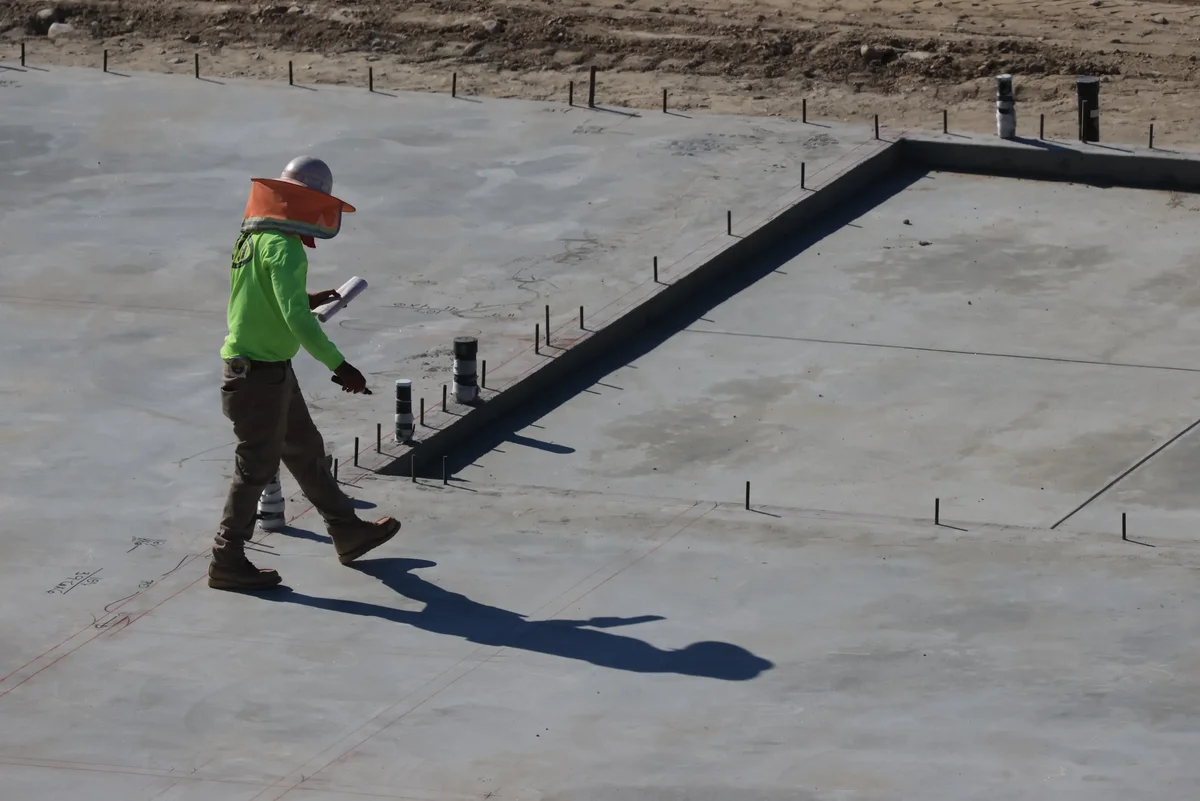
DIY Versus Professional Installation ROI Analysis
The true ROI of installation isn’t found in the upfront labor quote, but in the 10-year energy efficiency and warranty retention of the facility. DIY savings are often eliminated by specialized tool rentals and thermal inefficiency within the first two years of operation.
The Hidden Cost of Specialized Tooling and Access
A common misconception in DIY budgeting is that standard construction toolkits suffice for composite panel assembly. However, modern interlocking systems require precision that exceeds the capability of standard handheld drivers. To ensure panels are seated flush without damaging the cam-locks, installers often need specific torque-limiting hex drivers and pneumatic assist tools. Furthermore, handling large-format composite panels—particularly those with thicker insulation cores—demands specialized lifting gear or vacuum panel lifters to prevent structural damage during placement.
For a project manager, the ROI calculation must immediately factor in the capital expenditure or rental costs for this equipment. If the procurement team must rent a scissor lift, pallet jacks, and torque wrenches for a week, the “savings” from unskilled labor evaporate instantly. In our experience consulting on large-scale installations, the logistics of tooling alone can account for nearly 15% of a proposed DIY budget, a line item frequently overlooked until the project is already underway.
Thermal Bridges: The Silent Killer of Energy Efficiency
The most significant long-term risk of amateur installation is the formation of thermal bridges. Even microscopic misalignments between panels or inconsistent application of field-sealed gaskets create pathways for heat transfer. While the insulation material itself may perform exceptionally in a lab setting, real-world efficiency is dictated by the weakest link in the assembly chain. When thermal bridges occur, the refrigeration compressor must work harder to maintain set points, leading to significant increases in energy consumption over the facility’s lifespan.
At Rax Panel, we address this by using factory-integrated vapor barriers and CNC-cut components that guarantee zero seam gaps. We have found that field-applied sealants—which rely heavily on the installer’s patience and ambient weather conditions—rarely achieve the same airtight consistency as factory-sealed joints. The ROI of professional installation here is measured in kilowatt-hours saved; eliminating these hot spots prevents the “bleed” that can inflate operational energy bills by significant margins over a five-year period.
Warranty Voidance and Liability Exposure
For wholesalers and distributors, the warranty is the ultimate safety net, yet it is the first thing sacrificed in a DIY approach. Most high-performance composite panels come with strict stipulations that installation must be performed by certified technicians to validate the warranty. Unapproved assembly methods, such as using unauthorized adhesives or modifying cam-locks to force a fit, almost always void the manufacturer’s coverage.
The financial exposure here is massive. If a panel fails due to moisture ingress or delamination two years down the line, the cost to replace a single wall section—including dismantling, disposal, and re-commissioning—often exceeds the total initial cost of professional installation. Our engineering teams enforce ISO 9001 standards specifically to mitigate these risks. By adhering to professional protocols, project owners ensure that their investment remains protected against premature material failure, a security blanket that DIY approaches simply cannot offer.
Labor Reality: Interlocking Systems Demand Expertise
While “interlocking” implies simplicity, the reality of assembling a walk-in cooler or cold storage facility is that it is a rigid puzzle with zero room for error. Professional crews can execute a complex installation rapidly because they understand the sequence of assembly and how to manage tolerances. Conversely, a DIY team lacking experience with cam-lock systems often spends hours troubleshooting misaligned pins or uneven flooring, causing project timelines to balloon.
From an ROI perspective, time is a direct cost. A professional crew might complete a standard modular cold room in three days; a DIY effort could stretch to two weeks, leaving the facility non-operational and revenue-generating capacity stagnant.
When estimating labor, one must account for the steep learning curve of interpreting technical drawings and managing the structural integrity of the build. The speed and precision of a trained team do not just save on hourly wages; they accelerate the time-to-market for the end user, delivering immediate ROI that amateur assembly cannot match.
| Installation Phase | DIY Approach | Professional Execution | ROI & Engineering Impact |
|---|---|---|---|
| Foundation & Floor Preparation | Manual screed leveling or basic plywood subfloor; prone to uneven surfaces causing panel misalignment. | Precision-engineered floor tracks or integrated base panels with laser-level verification and structural anchoring. | Prevents structural settling and baseline thermal bridging; reduces costly foundation retrofits and extends building lifespan. |
| Panel Joining & Cam-Lock Assembly | Hand-tightened hardware with inconsistent torque; high risk of misaligned pins and visible seams. | Factory-calibrated cam-lock fastening with standardized hex wrench technique (1.5″ total travel) ensuring flush edges. | Eliminates air leakage and condensation hotspots; maintains continuous insulation integrity from day one. |
| Thermal Barrier & Moisture Control | Field-applied sealants and separate vapor barriers; common failure points leading to mold and rot. | Factory-integrated vapor barriers with CNC-cut components guaranteeing zero seam gaps and moisture-proof joints. | Sustains R-30 ratings with 15% thinner profiles; cuts shipping volume and long-term energy consumption significantly. |
| Door Installation & Threshold Alignment | On-site shimming and manual gap adjustments; frequent misalignment causing drafts and compressor overload. | Pre-fabricated threshold bars with plumb/level calibration and precise 3/16″ door reveal tolerances. | Ensures airtight sealing under heavy use; extends refrigeration unit lifespan and stabilizes operational costs. |
| Material Selection & Compliance | Generic insulation boards with unverified R-values; potential code violations and fire safety risks. | Certified PU/XPS/EPS foam cores paired with GRP or stainless steel facings (0.022–0.028 W/m·K); ISO 9001 & CE compliant. | Mitigates regulatory penalties and material replacement risks; delivers predictable, code-compliant cold chain performance. |
1: Site Preparation & Foundation Leveling Requirements
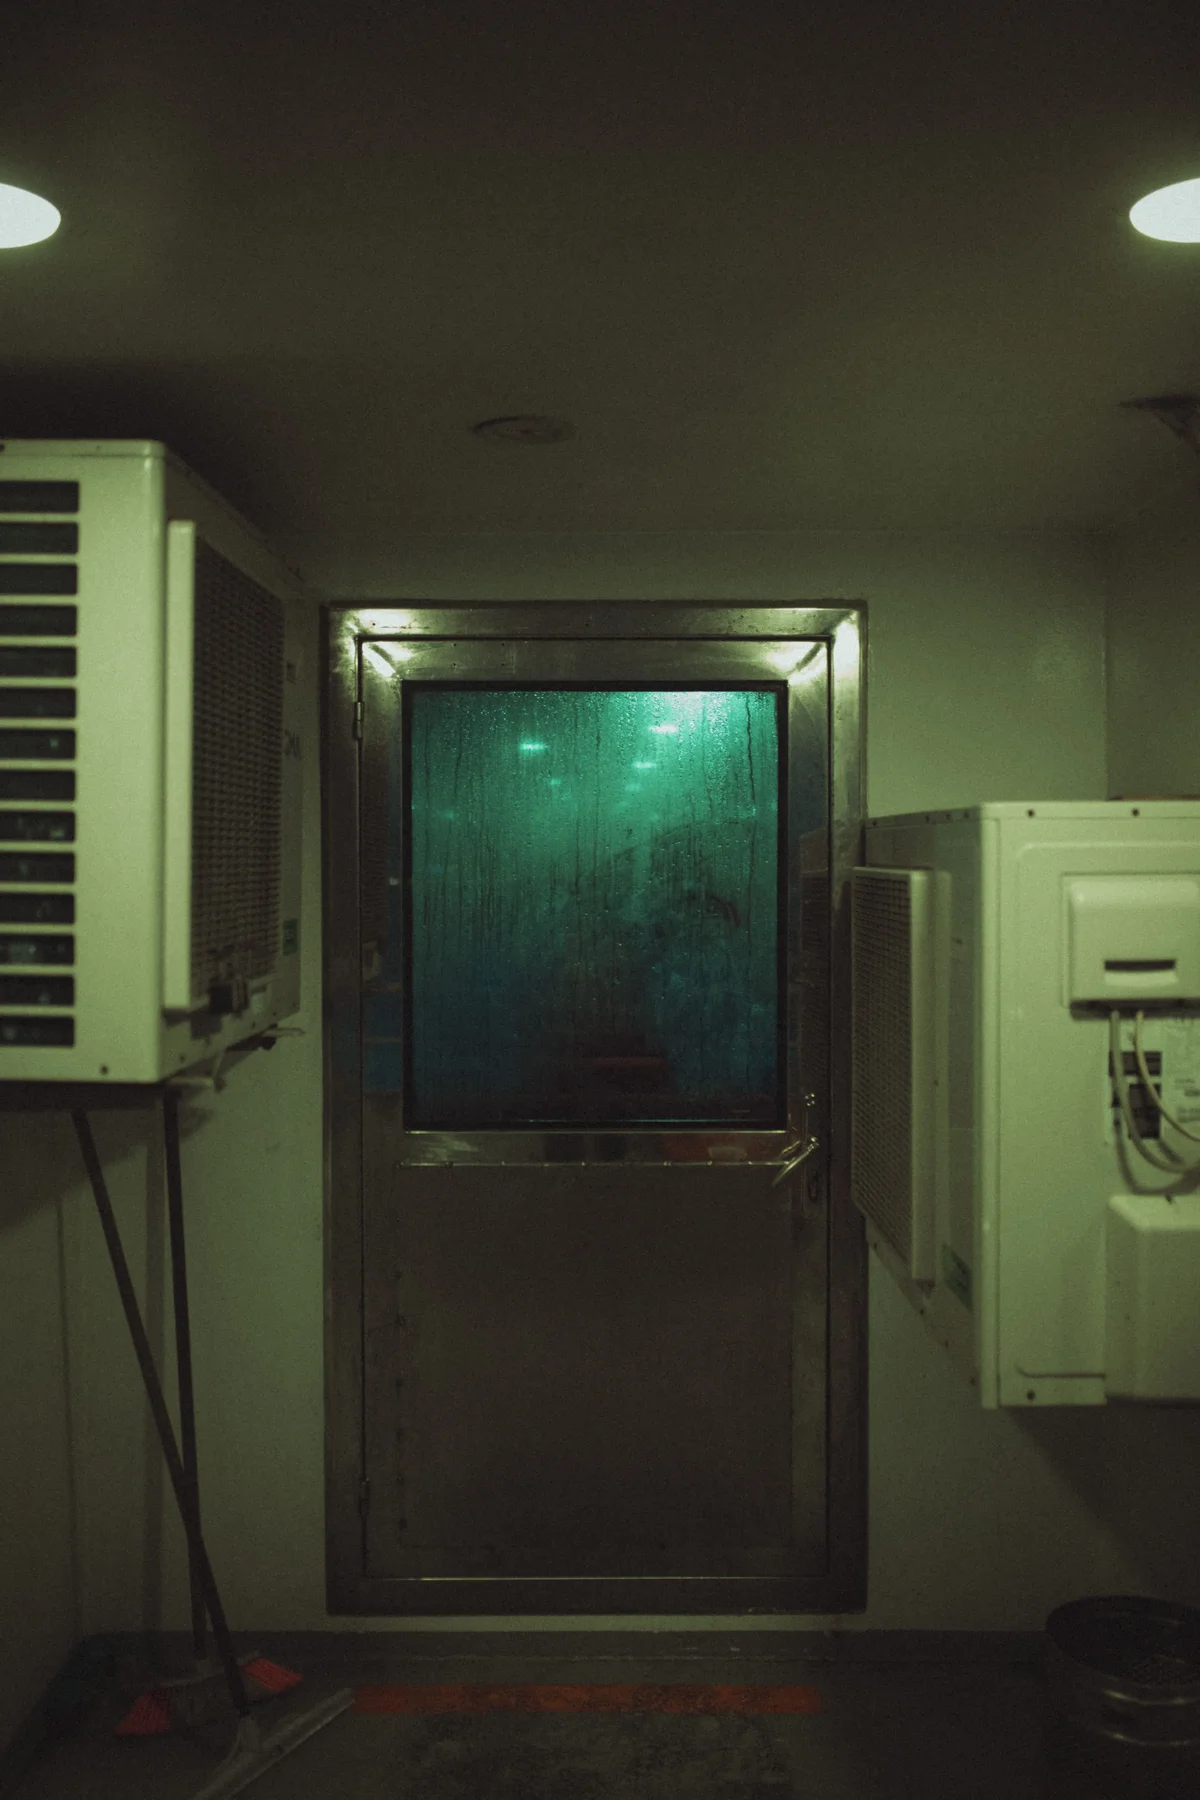
Precise foundation leveling and verified load-bearing capacity are non-negotiable prerequisites for composite sandwich panel installations. Even a minor grade deviation induces permanent structural bowing, compromises gasket sealing, and creates irreversible performance gaps at the floor interface.
Establishing Accurate Load-Bearing Benchmarks
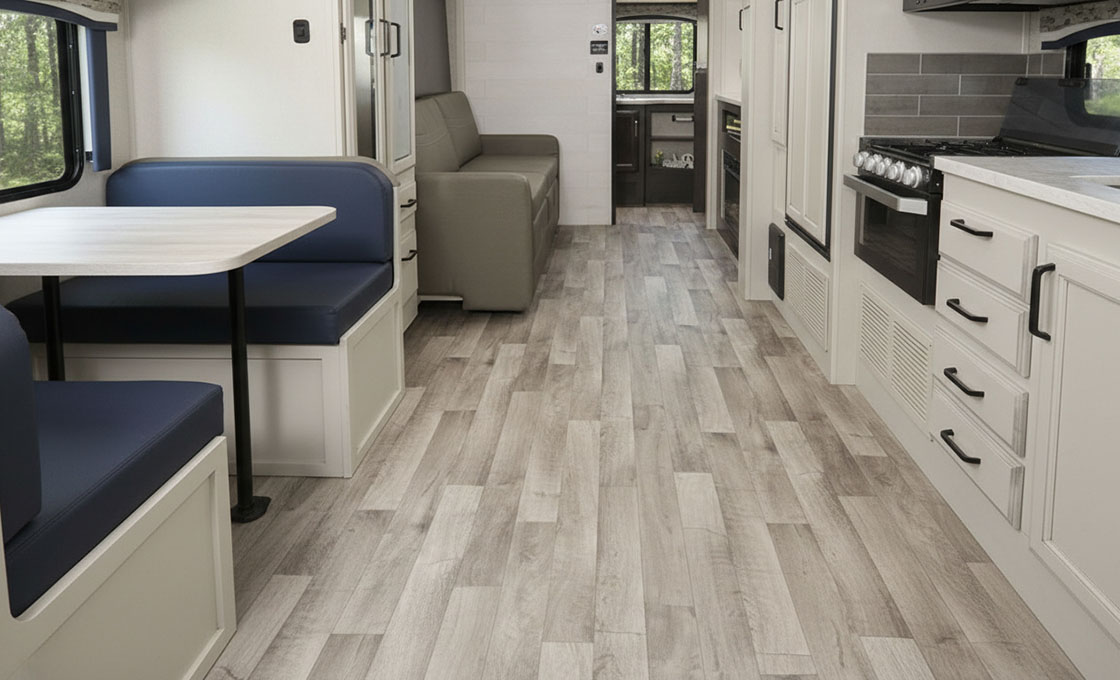
Composite floor panels rely entirely on a uniformly distributed support base. Many procurement teams incorrectly assume standard pedestrian zones require excessive reinforcement, leading to wasted capital, while others underestimate material handling loads, causing core compression. The baseline for standard commercial cold storage and RV/truck flooring is a design load of 500 kg/m². This threshold safely accommodates manual pallet jacks, standard racking, and personnel traffic without exceeding the elastic limit of PU, XPS, or PET foam cores.
When motorized equipment enters the zone, the sub-base specification must scale accordingly. Heavy logistics aisles or forklift routes demand a minimum reinforced concrete slab capable of sustaining 1,000 to 1,500 kg/m². Specifying a generic 2,000 kg/m² rating for light-access walk-ins is structurally redundant and inflates project costs unnecessarily. Composite honeycomb and thermoplastic UD core panels are specifically engineered to meet these exact tiered thresholds while maintaining dimensional stability under repeated cycling.
- Standard Pedestrian/Light Cart Zones: 300–500 kg/m². Suitable for dry freight truck beds, mobile home flooring, and basic walk-in cooler aisles.
- Moderate Logistics/Hand Truck Zones: 500–800 kg/m². Required for temperature-controlled warehousing where manual stock rotation occurs daily.
- Heavy Equipment/Forklift Zones: 1,000–1,500 kg/m². Mandates steel-reinforced concrete sub-slabs to prevent localized panel deflection and skin delamination.
Enforcing Strict Grade Tolerances
Structural bowing in sandwich panel assemblies is rarely caused by panel weakness alone; it is almost exclusively a symptom of an unlevel substrate. Installation protocols mandate a maximum grade tolerance of ±3 mm across any 3-meter span, and ±2 mm across a 1-meter check. Deviations beyond this window force the interlocking female-groove and male-edge mechanisms into angular stress, which permanently warps the composite cross-section and voids performance warranties.
Achieving this precision requires professional laser leveling and mechanical grinding of concrete slabs prior to panel deployment. Contractors must utilize epoxy-correcting shims or self-leveling underlayments specifically formulated for high-moisture environments. Once the substrate is verified, composite floor panels are laid with zero reliance on field-bending. The factory-calibrated edge geometry does exactly what it is designed to do, provided the foundation remains planar.
- Tolerance Threshold: ≤ ±3 mm per 3 m run. Exceeding this creates visible panel sagging and accelerates fastener fatigue.
- Measurement Protocol: Straight-edge survey with feeler gauges at 1-meter intervals before adhesive or mechanical anchoring begins.
- Correction Method: Mechanical scarifying for high spots; polymer-modified self-leveling compound for low spots. Never use loose gravel or uneven mortar beds as a leveling substitute.
Substrate Moisture & Thermal Isolation
A perfectly flat slab is useless if it actively wicks moisture into the composite core. Ground-level installations require a continuous vapor barrier (minimum 0.15 mm polyethylene sheeting) sealed at all joints with butyl tape.
Unchecked capillary action degrades the bond between facing sheets and foam cores, reducing shear strength by up to 40% over time. For refrigerated environments, placing a dedicated PUF or XPS insulation board beneath the primary composite flooring prevents ground heat gain from compromising the cold room’s thermal envelope.
This layered approach isolates the structural panel from ground vibration, eliminates conductive thermal bridging at the perimeter, and extends the service life of the entire assembly. General contractors who skip moisture mitigation inevitably face premature core swelling, facing delamination, and costly replacement cycles that far exceed the initial investment in proper sub-base preparation.
2: Panel Interlocking & Gasket Sealing Protocols
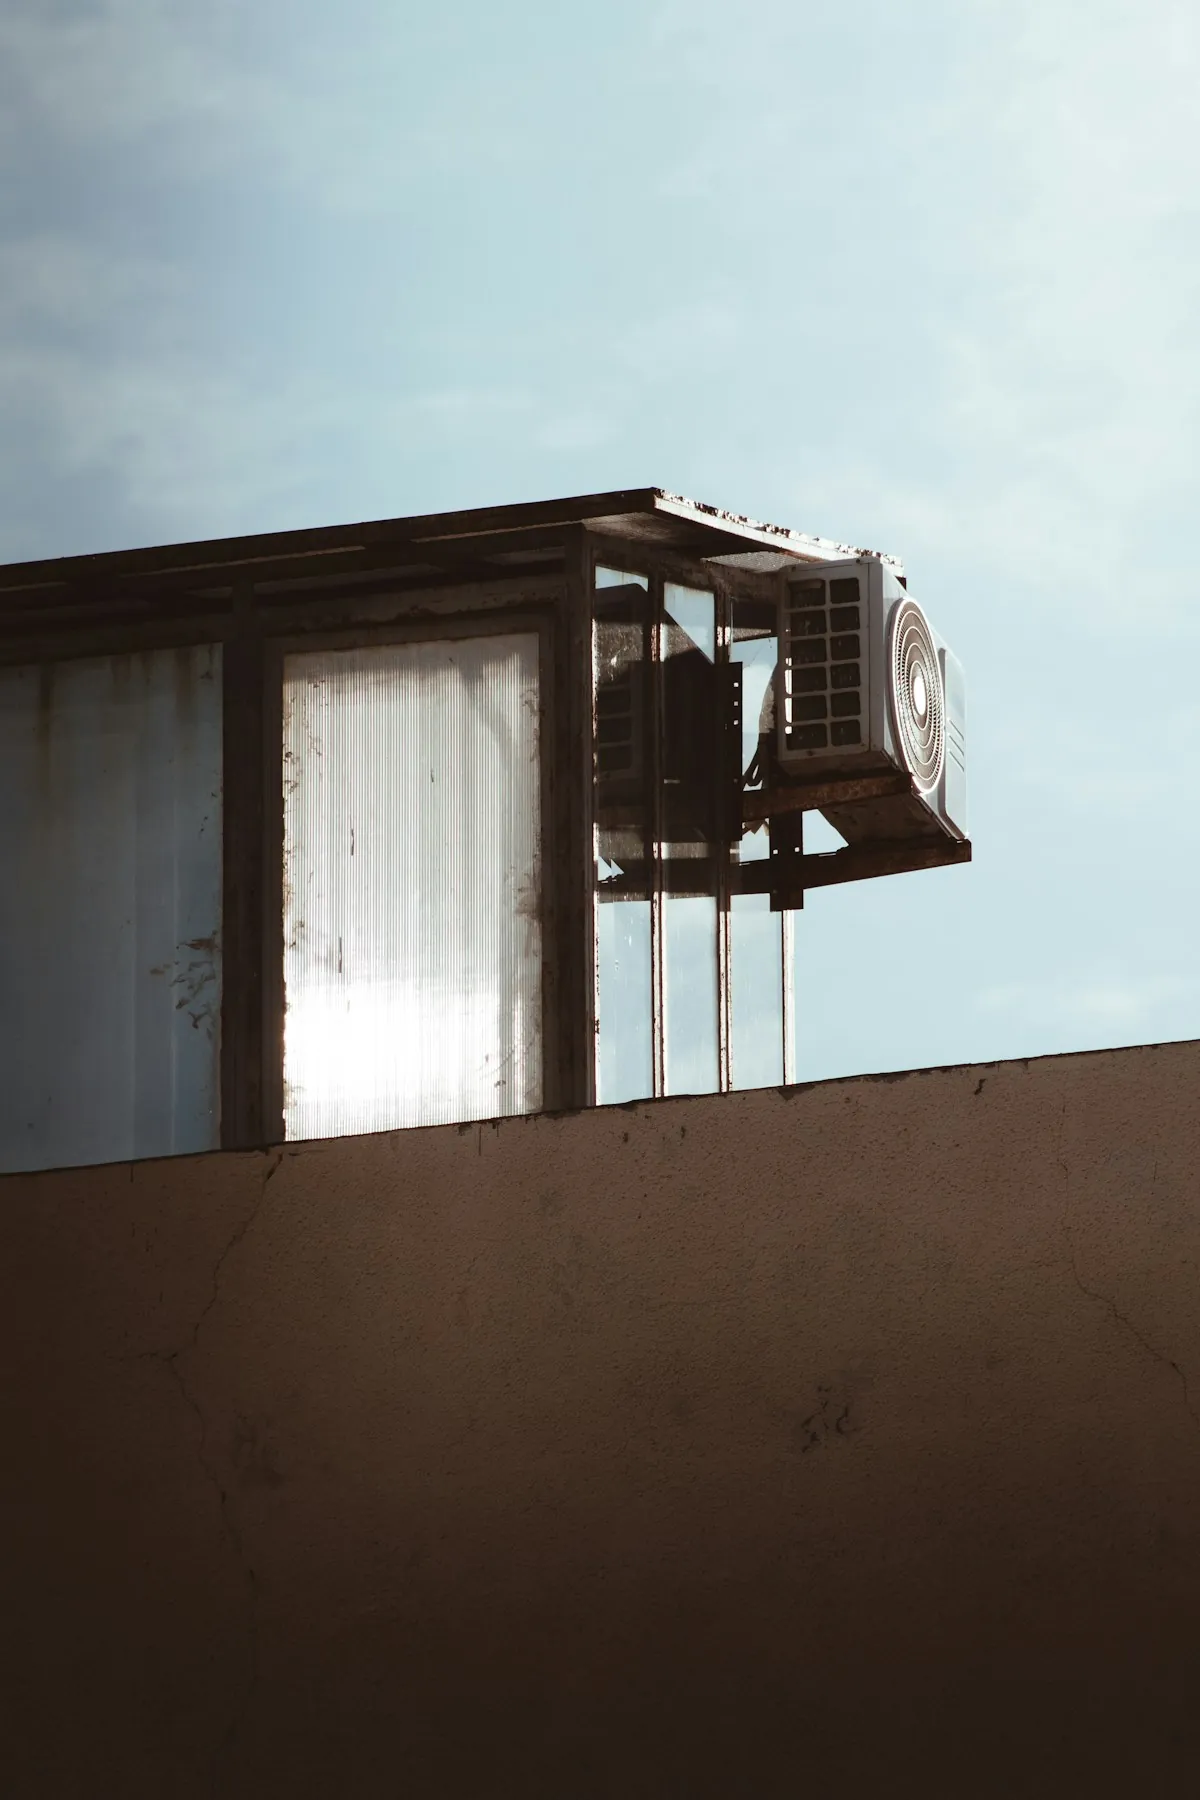
Precision interlocking and continuous sealing eliminate thermal bridges, preventing condensation and maintaining cold chain integrity.
Successful cold room assembly requires a coordinated mechanical lock paired with an unbroken vapor barrier. Misaligned cam-locks or discontinuous gasketing immediately creates thermal short-circuits, accelerating defrost cycles and compromising structural longevity.
Cam-Lock Alignment & Mechanical Interlocking Tolerances
Tongue-and-groove panel interfaces rely on precision metal or polymer locking hardware to maintain structural rigidity while compressing internal sealing elements. During installation, vertical panel joints must achieve a consistent 1.0 to 1.5 millimeter interlock engagement. Under-tightening leaves micro-gaps that permit air infiltration, while over-tightening crushes polyurethane or XPS cores, creating localized thermal short-circuits.
Installers should utilize a calibrated torque wrench set to 15–20 N·m for standard aluminum cam-levers to ensure uniform pressure distribution across the full panel height. Consistent mechanical tension prevents differential movement that would otherwise fracture sealant bonds during temperature fluctuations.
- Engagement Depth: Minimum 12mm interlock penetration for panels up to 300mm thickness.
- Joint Gap Tolerance: ±0.5mm maximum deviation after cam-lock tightening.
- Core Compression Limit: Do not exceed 8% deformation on foam or honeycomb substrates.
Gasket Compression & Continuous Sealant Application
Closed-cell EPDM or PVC gaskets provide the primary moisture seal, but they require complementary continuous sealant layers to eliminate capillary action. Industry standards mandate a single, unbroken bead of butyl-based or high-modulus polyurethane adhesive applied along the entire vertical joint before mating panels. Spot-sealing or intermittent adhesive patterns fail under cyclic thermal expansion, allowing humid ambient air to penetrate the cold chain envelope.
The sealant must remain elastomeric down to -40°C to accommodate differential movement between facings and cores without cracking. Proper bead profiling ensures the gasket compresses uniformly, maintaining a hermetic barrier against moisture migration and microbial growth.
- Adhesive Profile: 3mm width minimum, applied continuously without breaks.
- Temperature Range: Functional elasticity maintained from -40°C to +80°C.
- Curing Window: Initial tack within 15 minutes; full vapor resistance achieved in 24 hours.
Vapor Barrier Integration & Condensation Management
Interlocking protocols must smoothly transition into perimeter vapor barrier systems to prevent interstitial condensation. The upper edge of each wall panel should integrate directly with a sealed base flashing or floor vapor membrane using high-adhesion acrylic or butyl vapor tapes. When panels meet ceiling tracks, a double-lap sealant application bridges the horizontal joint, ensuring zero air leakage paths.
Proper sequencing eliminates the dew point migration through the foam core, which is the leading cause of insulation degradation in low-temperature storage environments. Rigorous post-installation verification confirms the envelope remains airtight under operational load.
- Perimeter Seal Type: Self-amalgamating rubber or butyl vapor tape with 50% lap overlap.
- Dew Point Management: Maintain interior surface temperature above ambient dew point by ≥2°C.
- Inspection Protocol: Pressurized smoke testing or infrared thermography immediately post-installation to verify joint continuity.
3: Refrigeration Unit Mounting & Line-Set Routing
Preparation at this stage determines the quality of everything that follows. Verify all dimensions against shop drawings, confirm substrate conditions, and stage materials in the order they’ll be needed.
Condenser Unit Placement and Structural Mounting
Mounting the refrigeration unit requires a precise balance between structural integrity and operational efficiency. While composite panels—such as GRP or CFRT sandwich panels—offer high strength-to-weight ratios, they are susceptible to point-load failures if heavy compressor units are bolted directly to the facings without reinforcement.
The vibration from a standard refrigeration compressor (often exceeding 60Hz) can cause fatigue cracking in fiberglass facings or delamination of foam cores over time. To mitigate this, mounting configurations must use structural spreader plates or continuous mounting rails that distribute the unit’s weight and dynamic load across a broader surface area of the panel framework.
For roof-mounted units, installers must verify the load-bearing capacity of the specific panel core. High-density cores like Polyurethane (PU) or Polyisocyanurate (PIR) provide better compressive strength for mounting hardware compared to lighter cores such as XPS or PET.
It is critical to consult the panel manufacturer’s load specifications before drilling. If the unit exceeds the panel’s structural limit, an independent steel support frame must be integrated into the building structure, bypassing the composite envelope entirely to bear the static and dynamic loads.
Airflow Clearance and Heat Dissipation
Proper condenser placement is dictated by thermodynamics rather than just spatial convenience. The condenser unit functions by rejecting heat; restricting its airflow creates a high-pressure head that forces the compressor to work harder, drastically reducing its lifespan and increasing energy consumption.
Industry standards dictate a minimum clearance of 500mm to 1000mm on the air intake and discharge sides of the unit to prevent short-cycling of hot air. In confined spaces or recessed installations, ducting may be required to channel intake air from a cooler zone and expel hot air away from the cold room envelope.
Never install the condenser unit where ambient temperatures regularly exceed the unit’s design rating (typically 40°C to 45°C). Enclosing the unit in a tight alcove without adequate ventilation can lead to compressor tripping and total system failure during peak ambient conditions.
Line-Set Routing and Insulation Protocols
The efficiency of the refrigeration cycle is heavily dependent on the routing and insulation of the copper line sets. The suction line (the larger pipe returning gas to the compressor) must be insulated to prevent heat gain and condensation.
Industry standard requires high-quality, closed-cell elastomeric nitrile rubber insulation with a minimum thickness of 13mm (1/2 inch) for standard applications, increasing to 19mm (3/4 inch) or more for low-temperature systems operating below -18°C. Any gaps in the insulation or unsealed joints act as thermal bridges, leading to significant energy loss and potential moisture damage to the cold room structure.
When routing line sets through composite panels, the penetration point is a critical vulnerability. Drilling through the panel compromises the vapor barrier and thermal envelope. Installers must use pre-fabricated penetration sleeves or bulkhead fittings that maintain the insulation continuity through the wall.
After the lines are passed through, the annular space between the pipe and the panel must be completely sealed with polyurethane foam or UV-stable sealant to prevent warm, humid air from infiltrating the panel core. This prevents core rot and internal condensation, which can rapidly degrade the structural integrity of foam or honeycomb cores.
📋 Installation Verification Checklist
- Step 1: Verify that mounting brackets include vibration-damping rubber pads or isolation washers to decouple the compressor vibration from the panel structure.
- Step 2: Ensure all copper tubing is insulated with UV-resistant, closed-cell insulation before it is passed through the wall penetration.
- Step 3: Seal all wall penetrations with a two-part polyurethane sealant to restore the vapor barrier integrity of the cold room envelope.
- Step 4: Confirm minimum airflow clearances around the condenser coil as per the unit’s technical data sheet to avoid high-head pressure faults.
4: Common Assembly Errors & Corrective Troubleshooting
Improper assembly of composite sandwich panels is the leading cause of thermal failure in cold storage facilities. Even a 1mm gap in joint alignment or a poorly compressed gasket can increase energy consumption by 15-20% due to thermal bridging.
Panel Misalignment and Cam-Lock Failure
The most frequent mechanical error during the assembly of insulated sandwich panels involves the mishandling of cam-lock systems. Installers often attempt to force tongue-and-groove connections together when panels are not perfectly aligned. This excessive force can strip the locking mechanisms or, worse, cause micro-fractures in the core material—particularly in rigid foams like PU or PIR—before the facing is even secured.
Never use a hammer to directly strike the cam-lock lever or the panel surface. This dimples the metal skin or damages the gel coat on GRP/FRP facings, permanently compromising the panel’s structural integrity and aesthetic finish.
- Error: Forcing cam-locks to close due to uneven panel gaps.
- Correction: If resistance is met, back off the lock. Check the panel alignment vertically and horizontally. Use suction cups or hydraulic lifting gear to adjust the panel position slightly. Ensure the tongue is fully seated in the groove before engaging the lock.
- Error: Neglecting to shave foam cores for custom cuts.
- Correction: When field-cutting XPS or PET foam cores for fit, the cut must be precise. If the core is slightly oversized, it will push panels apart, preventing cam-locks from engaging. Rout the groove to the exact specification of the locking mechanism.
Gasket and Sealant Compromise
While sandwich panels provide high R-values, the joints are the weakest link. A common oversight is applying sealing tapes or silicone to dirty, wet, or cold surfaces. This prevents adhesion, leading to air gaps that allow moisture ingress. Moisture accumulation inside the joint destroys the insulation value of water-absorbing cores and leads to mold growth behind GRP or metal facings.
- Error: Applying butyl tape or sealant in temperatures below the manufacturer’s recommended threshold (often below 5°C).
- Correction: Store sealing materials in a warm environment prior to application. If installation must occur in low temperatures, use a heat gun to gently warm the joint surface to activate the adhesive properties of the tape.
- Error: Incomplete compression of the gasket.
- Correction: After tightening the cam-locks, visually inspect the joint. There should be sealant squeeze-out visible along the entire length of the joint. If dry spots appear, the connection is not air-tight and requires re-seating.
Fastener-Induced Core Crushing
Sandwich panels rely on the bond between the skin and the core for stiffness. Over-tightening fasteners—whether self-tapping screws for metal skins or specialized rivets for GRP/CFRT sheets—is a frequent error that leads to “core crushing.” This compresses the foam or honeycomb structure, creating a depression that compromises the flatness of the wall and creates a localized thermal bridge.
📋 Troubleshooting Fastener Tension
- Step 1: Always use washers compatible with the facing material (e.g., neoprene washers for metal, larger backing plates for fiberglass).
- Step 2: Stop driving the screw or fastener immediately when the washer seats flush against the surface. Do not attempt to “countersink” the washer into the panel skin.
- Step 3: If a fastener spins and does not grab (common in thick PU or PVC cores), do not simply insert a larger screw. Remove the fastener, fill the hole with approved structural foam filler, and re-drill once cured.
Commissioning Verification Protocol
Before the refrigeration unit is powered up, a final inspection is mandatory. Visual checks are often insufficient to detect minor air leaks. Technicians should perform a smoke test or pressure decay test to identify leaks in corners, ceiling junctions, and around door frames.
If the cold room fails to hold temperature or the refrigeration unit exhibits short-cycling during the initial trial run, inspect the floor-to-wall junctions first. These areas are prone to gaps if the floor was not perfectly level, or if the wall panels were not shimmed correctly to account for sub-floor irregularities. Addressing these assembly errors before the space is loaded with goods prevents costly retrofitting and inventory loss.
Safety Protocols & Local Code Compliance Verification
Commercial cold storage compliance hinges on four non-negotiable pillars: verified floor load capacity, region-specific fire ratings for panel facings, standardized refrigerant line routing protocols, and complete certification portfolios for municipal audits. Meeting these thresholds prevents costly retrofits, ensures insurance validity, and guarantees long-term operational uptime.
Structural Load Ratings for Walk-In Cooler Flooring
Walk-in cooler floors endure constant dynamic stress from pallet jacks, manual trolleys, and dense inventory stacking. While generic composite panels often rely on thin metal skins that dent under point loads, engineering-grade tolerance documentation requires a composite core that distributes weight evenly across the panel matrix.
Inspectors and structural engineers scrutinize deflection limits before approving cold room layouts. In our facility, our compression analysis protocols prioritize uniform load distribution, which eliminates weak points where forklift tires or heavy shelving brackets would otherwise cause localized panel failure.
When specifying flooring panels for high-traffic commercial environments, general contractors must verify that the facing material resists impact while the core maintains compressive strength under sustained loads. Relying on standard wood-based substrates introduces rot and delamination risks that void warranty coverage. Our factory utilizes advanced thermoplastic and fiberglass reinforced facings bonded directly to high-density foam cores, creating a unified structural unit that outperforms traditional timber subfloors in both durability and hygiene compliance.
Local Fire Rating Requirements for Sandwich Panel Facings
Fire code enforcement varies significantly by municipality, but commercial cold storage facilities universally face strict scrutiny regarding surface flame spread and smoke generation. The industry debate between EPS, PU, and PIR cores often stalls projects because buyers confuse initial material cost with long-term liability. Municipal inspectors do not simply look for a fire-resistant label; they verify that the entire assembly—including adhesives, sealants, and facings—meets regional building codes during active thermal stress testing.
We consistently recommend PU or XPS cores paired with non-combustible GRP or stainless steel facings for commercial installations. This configuration inherently blocks rapid heat transfer and prevents toxic fume propagation, satisfying stringent safety standards without relying on chemical flame retardants that degrade thermal performance over time.
If your project falls under EU or North American commercial jurisdictions, CE conformity and localized fire safety certifications are mandatory for inspection sign-off. Always request batch-specific test reports from your supplier rather than accepting generic marketing claims.
Refrigerant Line Routing and Leak Detection Standards
Routing refrigerant lines through insulated cold room structures requires precise coordination between mechanical contractors and panel suppliers. Industry standards dictate that all copper or aluminum line-sets must be fully insulated with closed-cell materials matching or exceeding the surrounding panel R-value. Uninsulated or poorly sealed penetrations create immediate thermal bridges, leading to localized frost buildup, moisture accumulation, and eventual energy waste.
Leak detection protocols are equally critical. Commercial facilities must integrate electronic refrigerant sensors near line routing zones and floor drains, triggering automated shut-offs before hazardous concentrations develop. When panels penetrate walls or floors for line access, precision interlocking mechanisms and factory-integrated vapor barriers must be maintained to preserve the continuous thermal envelope. We advise mechanical teams to coordinate penetration locations during the engineering phase, ensuring that drilling does not compromise the structural integrity or degrade the manufacturer’s warranty.
Certification Documentation Required for Commercial Inspections
Passing commercial building and health inspections depends entirely on documentation accuracy. Municipal authorities and third-party auditors require a complete paper trail proving that materials comply with environmental, structural, and safety directives before granting occupancy permits. Missing or vague certificates are the most common cause of project delays and costly re-inspections.
Your procurement package must include verified ISO 9001 quality management framework records, REACH and RoHS environmental compliance statements, and factory-issued thermal stress test results. For cold chain applications, hygiene regulation certifications are equally mandatory to prove that composite cores and facings resist bacterial growth and moisture degradation. We supply multilingual, engineer-signed documentation packs that align with international commercial standards, eliminating translation errors and ensuring that your local inspector receives exactly what they require to approve the installation.
| Compliance Area | Technical Specification | Verification Protocol | Safety Benefit | Code Standard |
|---|---|---|---|---|
| Fire Resistance & Thermal Protection | PU/XPS Core Fire Ratings | Factory Thermal Stress Testing | Prevents Rapid Heat Transfer & Ignition | CE Conformity & Fire Safety Standards |
| Moisture Barrier Integrity | Factory-Integrated Vapor Layers | Zero-Seam CNC Cutting Inspection | Eliminates Condensation & Structural Rot | Cold Chain Hygiene Regulations |
| Structural Load Validation | Engineering-Grade Tolerance Documentation | Third-Party Compression Analysis | Ensures Stability Under Heavy Loads | ISO 9001 Quality Management Framework |
| Joint Sealing & Assembly | Precision Cam-Lock Mechanisms | Multilingual Installation Audits | Blocks Thermal Bridging & Air Leaks | Regional Building & Mechanical Codes |
| Environmental Material Safety | Non-Toxic Composite Core & Facing Materials | MSDS & Chemical Compliance Review | Reduces Hazardous Emissions & Waste | REACH & RoHS Environmental Directives |
Key Takeaways
Cutting corners on panel interlocking destroys your ROI. Thermal bridges aren’t just minor leaks; they void warranties and spike power bills for years. You need precise foundation leveling and strict gasket protocols to make any storage facility perform. Ignore the torque specs, and you pay for it in refrigerant leaks later. Professional assembly beats cheap labor every single time because the labor cost is recovered in energy savings within the first year.
- Verify floor load ratings match your specific panel weight before you pour concrete.
- Confirm local fire codes for composite facings to prevent expensive inspection failures.
- Treat our engineering team as a technical resource for layout verification, not just a sales desk.
Frequently Asked Questions
This factor has a direct bearing on project performance and long-term cost. Addressing it with specific data rather than general assumptions leads to better outcomes.
How do I calculate optimal cold room size?
Accurate sizing depends on calculating your required storage volume, accounting for pallet dimensions, aisle clearance, and airflow circulation space. You must also factor in the ceiling height limitations and the physical footprint available at the installation site. Consulting a structural engineer ensures the chosen dimensions align with both operational throughput and safety regulations.
How do I choose EPS PU or PIR?
Selection depends on balancing thermal conductivity requirements, fire safety ratings, and budget constraints for your specific application. Polyurethane offers excellent insulation values and moisture resistance, while polyisocyanurate provides superior flame retardancy for stricter building codes. Expanded polystyrene remains a cost-effective option for moderate temperature ranges but requires additional protective facings for long-term durability.
Which refrigeration components are essential for assembly?
The core refrigeration circuit requires a compressor, condenser, evaporator coil, and expansion valve to maintain consistent temperature cycles. Thermostatic controls and digital monitoring systems are necessary for precise climate regulation and alarm notifications. Additionally, adequate electrical wiring, disconnect switches, and drainage lines must be integrated to support continuous unit operation.
How is condensation prevented in cold rooms?
Effective condensation control relies on properly installed vapor barriers placed on the warm side of the insulation layer. Continuous panel joints and sealed penetrations prevent humid air from migrating into the structure where it could freeze or degrade materials. Adequate ventilation and dehumidification systems also manage ambient moisture levels before they reach dew point temperatures.
What is the standard production lead time?
Standard composite panel orders typically require four to six weeks for manufacturing and quality inspection before shipment. Custom configurations with specialized facings or non-standard dimensions may extend the timeline depending on material availability and engineering validation. coordinates precise container loading logistics to ensure all components arrive simultaneously for uninterrupted site assembly.