
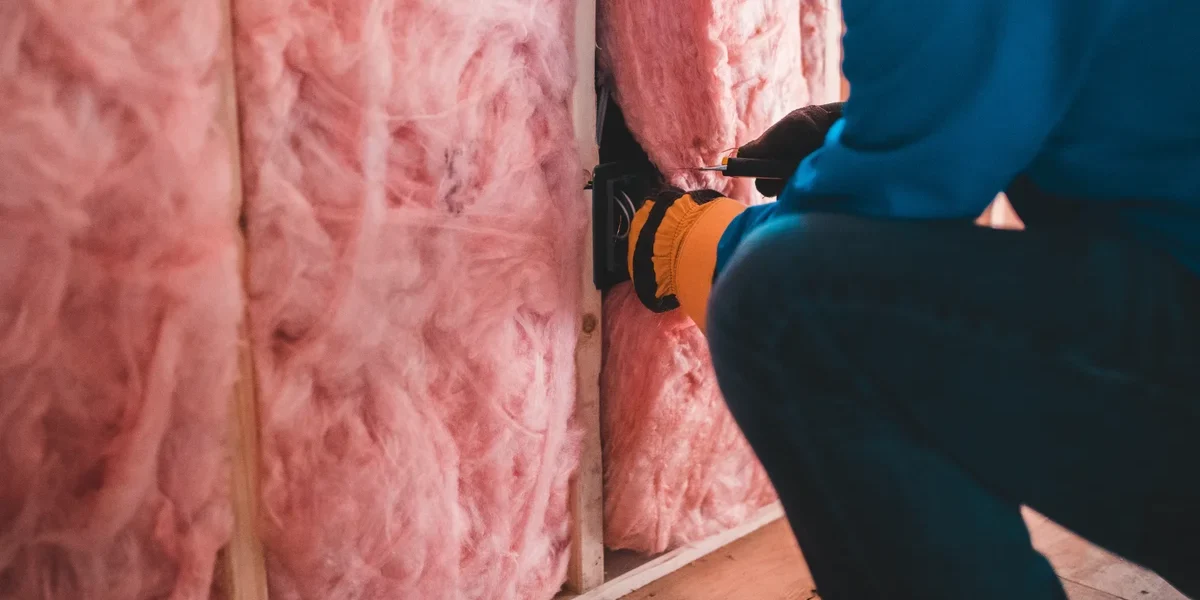
By the time electricians walk in, the walls are already standing, and cleanroom panel electrical work starts from that awkward fact. Every hole cut from here on is paid for twice: once in sealant and rework, then again at the pressure re-test if the sealing was an afterthought.
This guide runs the sequence a fit-out crew can defend at handover. Mark the layout against the panel drawings, cut without feeding dust into a finished room, and mount boxes that sit flush. Route wiring through raceways instead of improvised holes, then seal every penetration and re-test. The wiring itself belongs to a licensed contractor. RaxPanel supplies the wall, ceiling and partition panels these trades work on, so the discipline here is written from the panel side of the job.
Plan the Circuit Layout Before Any Panel Is Cut
An outlet position that looks fine on the architectural plan can land exactly on a post, a cam-lock line or a panel joint, and that is where panels die. Before anything is cut, overlay three drawings on one table: the architectural layout, the electrical point plan and the panel arrangement drawing. Where the three disagree, the panel drawing wins, because it is the only one that knows where the structure actually lives.
Mark the cleanroom panel electrical layout on the standing wall itself, photograph it, and get the mechanical crew and the panel installer to sign the same sheet. That signature costs ten minutes and saves the two-cut mistake: the first hole in the wrong place, the second hole explaining it. On systems designed for it, ask the panel supplier about factory-cut openings before reaching for a tool on site.
The reason for the fuss is structural. Cleanroom walls are engineered frames, and how cleanroom panels carry load through posts and joints decides which zones of a panel can be opened at all. Modular wall makers build the routing in from the start. PortaFab’s PM458 XTRA TALL system, for example, ships as a 117 mm panel with an integrated wiring raceway, so electricians are not inventing paths through the structure.
| Zone on the panel | Verdict | Why it matters |
|---|---|---|
| Open panel field, clear of the frame | Acceptable, with panel-specific spacing confirmed | Full skin strength; room for the box flange and gasket |
| Across a post or load-bearing member | Do not cut | Severs the load path the wall was certified around |
| On a joint or gasket line | Do not cut | Breaks gasket continuity and the air seal in one stroke |
| Cam-lock zone | Re-position the point | Lock hardware and its fixings occupy that band |
| Factory raceway zone, where the system has one | Preferred | Routing stays inside engineered channels, not scars |
Cut Openings Without Feeding the Room Contaminants
The cleanest cut is the one made before the panel ever meets the room. Where the schedule allows, openings get cut while panels still lie flat in the fit-out area, with the face protected and the swarf captured at the bench. Retrofits into a running or freshly certified room are a different animal. They borrow the same site-readiness discipline used for sliding door operators: agree access, containment and cleaning before anyone arrives with a tool.
On a live wall, reach for a fine-tooth hole saw at low speed rather than a grinder, and run a vacuum nozzle beside the blade for the whole cut. A slow cut with extraction leaves a cavity you can wipe clean; a fast one bakes fines onto every surface it touches. Deburr the edge, vacuum the cavity, and wipe the surrounding face before the box goes in, so nothing the cut freed ever reaches the filter bank.
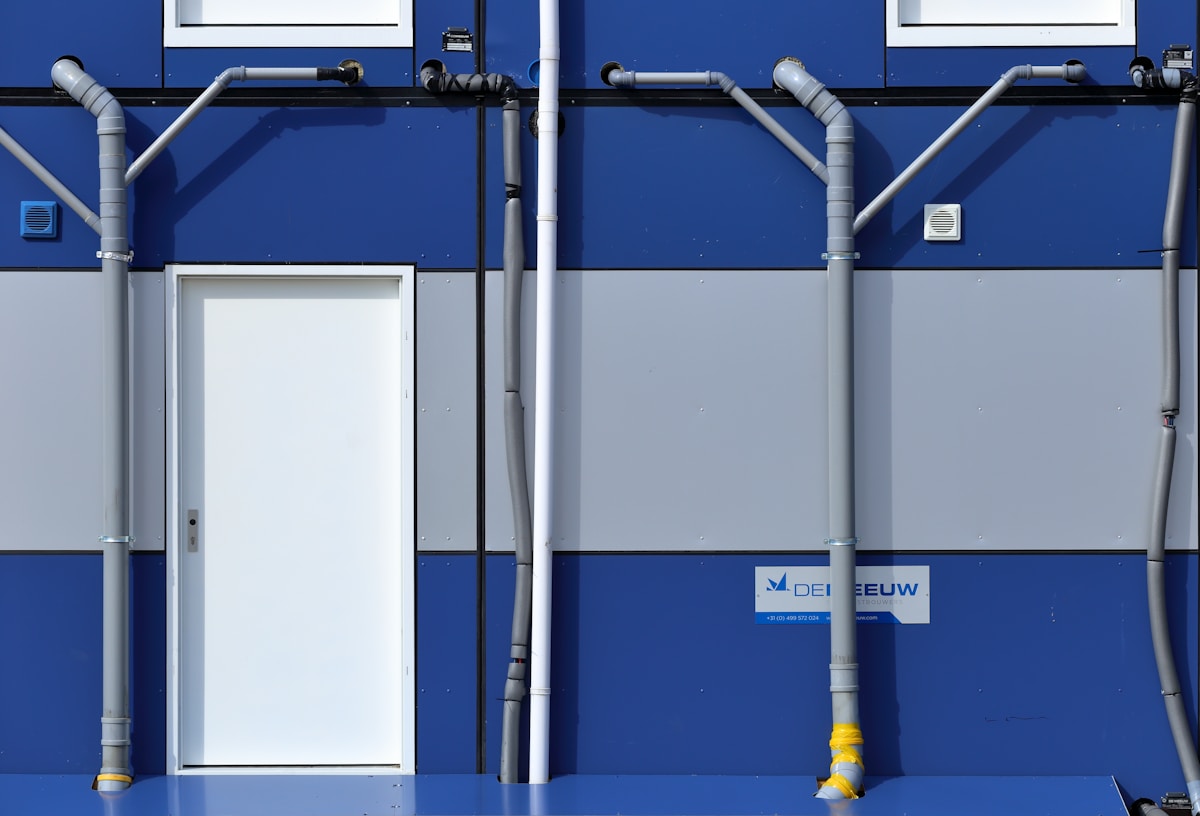
Sequence matters as much as technique. Cut, clean, then mount – never mount into a cavity that has not been inspected. If the room below the work is already classified, sheet off the work zone, keep doors closed, and wipe down the path the debris takes out.
Mount Boxes and Socket Faces That Stay Flush
Flush is not an aesthetic preference in a cleanroom; it is a cleaning requirement. A box face that stands proud of the panel sheds product, traps particles on its ledge and gets rejected at the first wipe test. That is why flush-mount, gasketed outlet hardware exists as its own product family – the phrase cleanroom electrical outlets is a standalone category in supplier catalogs, not a marketing label.
Module makers treat the cleanroom panel electrical hardware the same way. PortaFab’s standard package pairs outlets and switches with flat LED lights and a circuit breaker box, pre-wired so only the final connection to power needs an electrician. The lesson travels: boxes, faces and sockets behave like panel components, with gaskets and tolerances, not like add-ons screwed into drywall.

- Flush-mount body with a gasketed flange that compresses against the panel face.
- Smooth, wipeable face plates – stainless or powder-coated steel are the trade defaults.
- Box depth that clears the panel core without bridging posts or cam-locks behind it.
- A gasket or sealant line at every panel-to-box interface, applied as part of the install.
Set the box, tighten it evenly, and check the flange sits level with the panel face before the gasket is asked to work. A tilted box rocks under its cover plate, and the rocking works the sealant line loose – slowly, and always after handover.
Route Wiring Through Raceways, Not Makeshift Holes
Every cable needs a planned path, and on a certified wall that path is a component, not a scar. Systems that integrate routing solve this at the design stage, the way PortaFab’s raceway-equipped wall does; on panels without one, surface raceways and factory-approved channels take the runs. What never works is drifting extra holes wherever the drill lands, because each new penetration is another seal to maintain and another leak path to re-test.
Code belongs in the room too. In the United States, NFPA 70, the National Electrical Code, is the baseline for the installation, with local amendments on top. The crew that holds the license holds the liability. Route through return-air plenums only where the project specification allows it; where it does not, dedicated chases or listed surface trunking keep the run legal and serviceable.
Cleanroom panel electrical routing earns its keep at re-call, not at commissioning. Group penetrations where the layout allows, sleeve every pass, and label both ends of each run. The technician tracing a circuit in year five is standing inside a certified room with a work order and no memory of the build.
RaxPanel supplies cleanroom wall, ceiling and partition panels engineered for tidy electrical fit-out – flat faces, clean joints and systems that accept factory-planned cutouts. Send your layout; an engineer returns panel and cutout guidance within 24 hours, one to one.
Seal Every Penetration and Regain the Pressure Cascade
Sealing is where cleanroom panel electrical work either earns its certificate or schedules another re-test. Every penetration your trade added is a hole in the pressure boundary the room was certified around. The cascade of pressure differences that keeps dirty air moving outward does not forgive improvised gaps. The requirements are explicit about the mechanism: the pressure cascade your room was certified to hold only exists while the envelope stays continuous.
The regression itself is a short, strict routine. Seal every penetration with an elastic, cleanroom-compatible sealant or the manufacturer’s gasket set, and run the bead continuously with no skips or voids. Respect fire-stopping requirements where the wall is rated. Then hand the room back for verification: visual continuity first, then the pressure or leak test the acceptance protocol calls for. A seal that looks right is not yet a seal that holds grade.
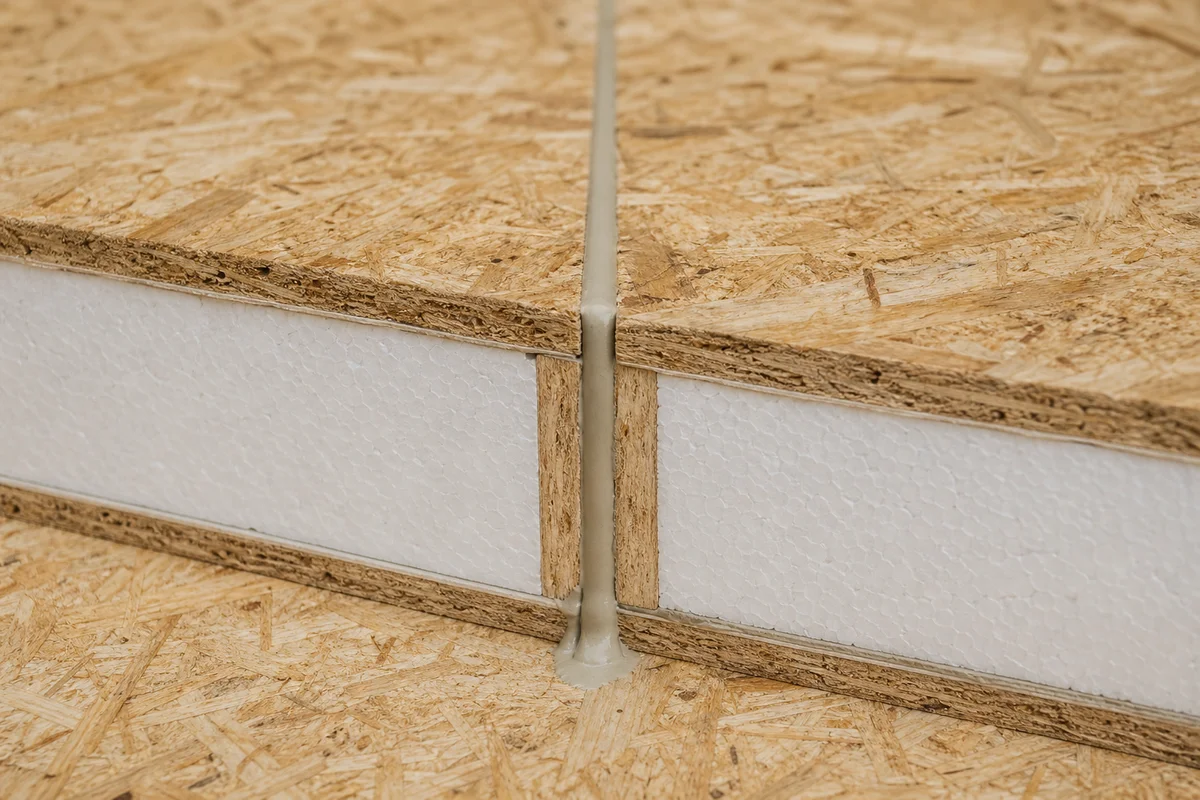
Log what was sealed, with what, and where. The audit trail that clears a retrofit is the same one the original build produced: material records, locations, and the re-test result attached to the change. Without that paperwork, the room’s certificate has a hole in it that matches the one in the wall.
An Acceptance Checklist That Passes the Audit
A retrofit that was done well can still fail handover on paperwork. The close-out walk should take the signed mark-out drawing and follow the wall twice: once for the hardware, once for the records. The table below is the checklist we hand the foreman before the client’s verifier arrives.
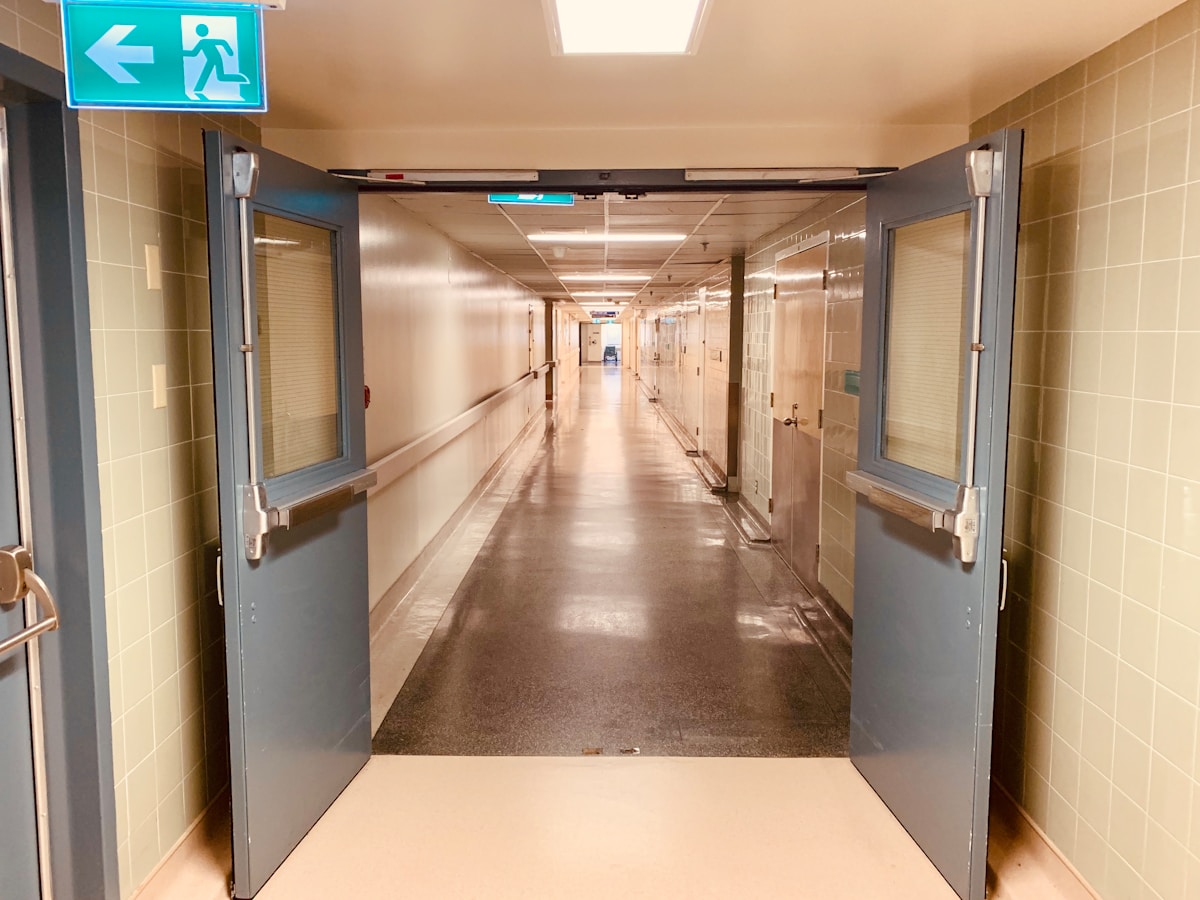
| Checklist item | Pass condition | Record to file |
|---|---|---|
| Positions vs mark-out | Every box matches the signed layout drawing | As-built marked-up drawing |
| Opening quality | Edges deburred, cavity clean, no cracks radiating from the cut | Photo of each opening |
| Box mounting | Flange flush with the panel face, cover plates tight | Level check note |
| Gaskets and seals | Continuous compression line at every interface | Sealant batch and location list |
| Function test | Sockets and switches energized and tested | Test sheet signed by the electrician |
| Pressure regression | Room re-tested to the project acceptance method | Re-test report attached to the change |
Two habits make the checklist land. Test the pressure regression with the room in its normal operating state, not a heroically tidy version of it. And file the records the same day, because the difference between a change order and a mystery is whether the paperwork exists when the auditor asks.
None of this is exotic. It is the same discipline the panel trade applies to every hole it cuts on day one, applied again by the next crew that needs a socket. Panels that welcome a tidy retrofit are built for it – and the suppliers who engineer them would rather approve the cutout than replace the panel.
Frequently Asked Questions About Cleanroom Electrical Work
Can you cut openings in cleanroom panels after the walls are up?
Yes. Demountable panel systems are designed to be modified, and vendors document panels being changed without disturbing neighbors. The conditions are the discipline above: locate posts and services first, cut with extraction, then seal and re-test.
What electrical box works in a cleanroom wall?
Flush-mount boxes with gasketed flanges and smooth, wipeable face plates – stainless or powder-coated steel are typical. The box must compress a gasket against the panel face and clear the core without touching posts or cam-locks behind it.
Do electrical penetrations break the pressure cascade?
Any unsealed penetration leaks, and enough leaks flatten the pressure differences between rooms. Sealed and re-tested penetrations restore the boundary; the regression test is what proves it to the acceptance protocol, not a visual check alone.
Who should do cleanroom panel electrical work?
A licensed electrical contractor does the wiring, under NFPA 70 or the local code that applies. The panel supplier contributes the other half: cutout locations, approved openings and sealing requirements for cleanroom panel electrical work.
How do you keep dust out of the room while cutting?
Cut panels flat before installation when the schedule allows. On a standing wall, use a fine-tooth hole saw at low speed with vacuum extraction at the blade, sheet off the zone, and wipe the cavity before mounting the box.